Let’s break it down and get you faxing!
What you need:
- Windows PC
- Fax To Email account. Need one? Get a fax number today.
Let’s get started:
- First let’s get the driver downloaded. Click here to download it: Fax to Printer Driver .
- Once it downloads double click it to extract the files. There are two installer files. Choose the x64 one. If you get an error use the x86 version.
- Click Next to select the location of the install. You can leave this default unless you want to install elsewhere.
- Click Install
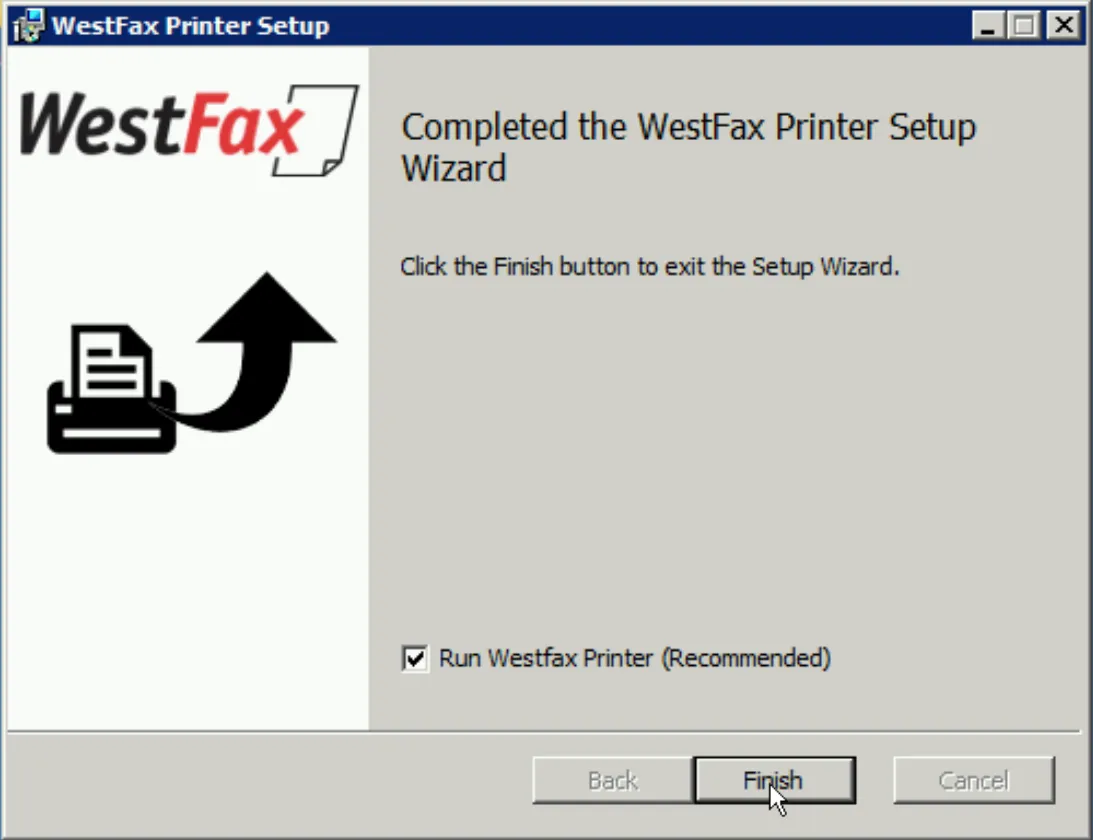
See a blue box error? Click here When you see the next screen just click Finish and launch the Printer Tool.
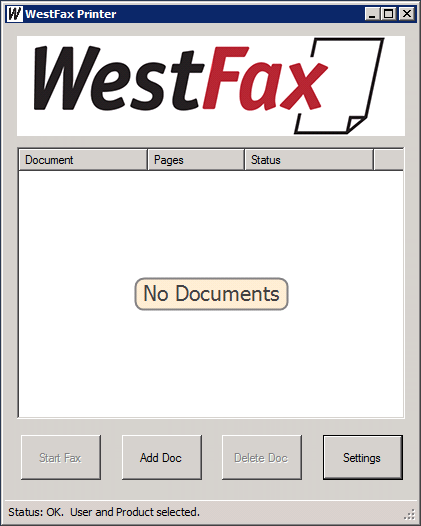
Ok, here is the default screen. We’re going to connect to your Fax2Email account. Need an account? Stop here and go sign up. Then come back to this step.
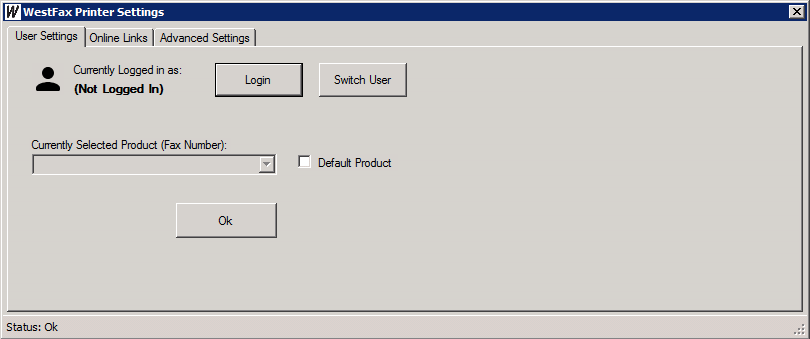
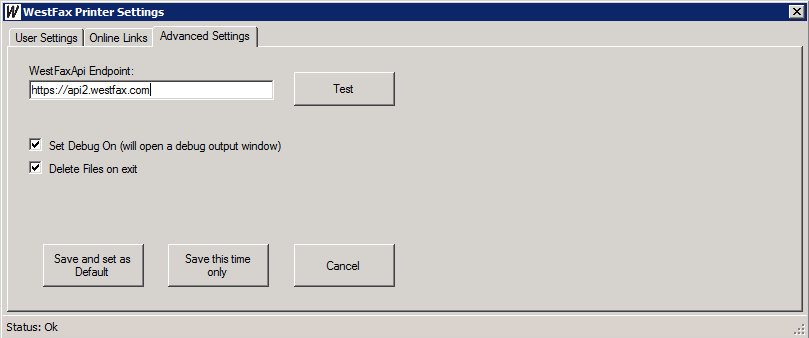
Ok, Click the Settings button and you’ll get this dialog box. Click Login to set your login credentials. You can switch users as well as change the default fax number you are using to send from.
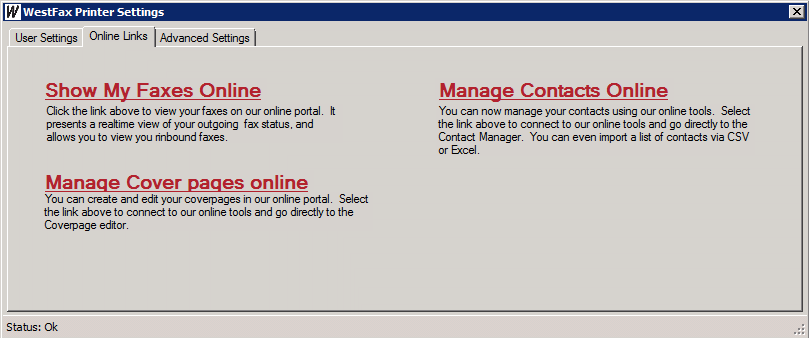
The second tab called "Online Links" allows you to have quick access to your fax web portal, cover page designer and contacts.
The third tab "Advanced Settings" allows you to set the API (leave it unless directed otherwise) and set the debugging to on (detects issues with connectivity, etc...)
- Now, enter your login and password for your Fax To Email account. Can’t remember it? Click here.
- Now, Let’s make sure everything is set. You should see your Fax number in the “Currently Selected Product (Fax number)” box. If you have more than one number choose the one you want to fax from.
- Now that you have your account authenticated you are all set!
- Now, let’s open any document to print. Got one loaded? Ok… Let’s print:
Go to File->Print. Now in the printer selection choose “WestFax Printer”. Then hit Print.
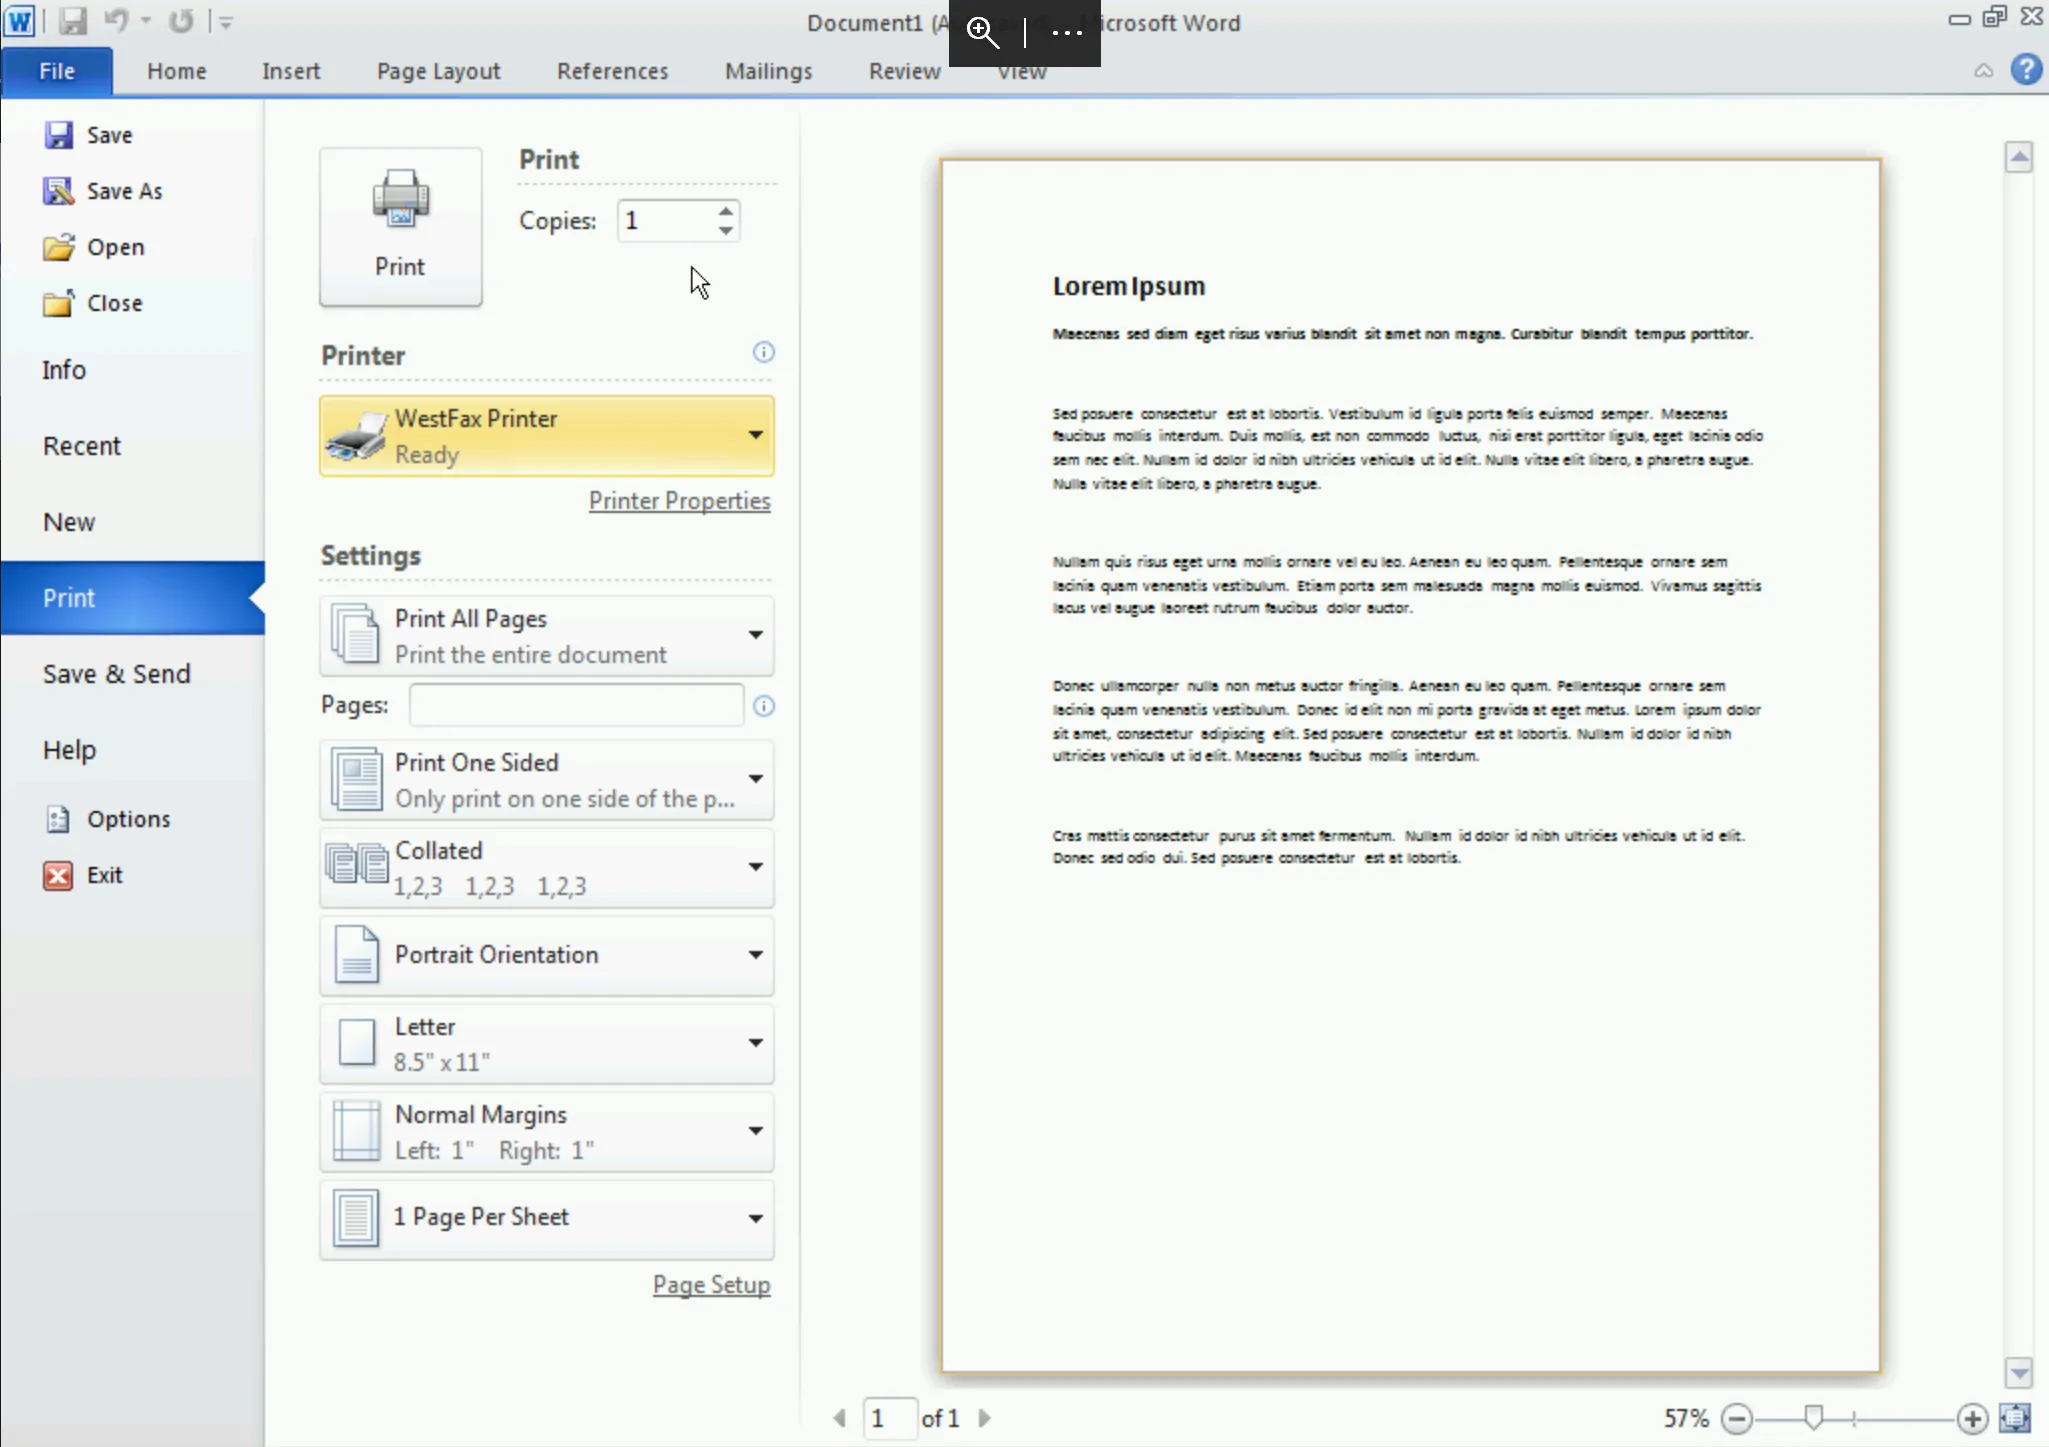
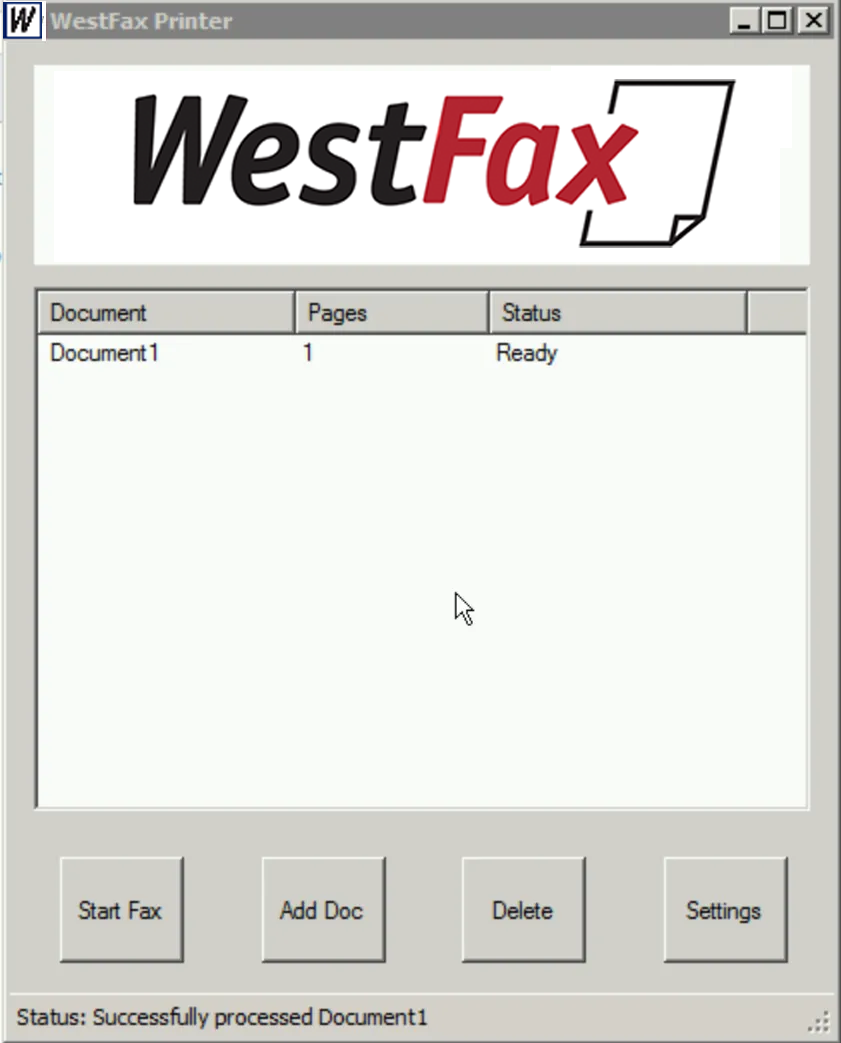
- Now, You will see a “Processing” Bar on the bottom right as we queue up the document. Then you will see the WestFax Printer dialog come up.
Now you go to the WestFax Printer tool and you will see your document name, # of pages and the status. If the document is a few pages it will take a few seconds to change the status to ready. If it is a larger document with images or a large number of pages it will take a little longer. Once it says Ready we want to click “Start Fax”. Note: You can add additional documents on this screen here if you want. Just click “Add Doc” and select any document you want to include.
Recipients Tab
Now just click “Start Fax”. You will see this dialog below. First you will want to select te recipients. You can choose Contacts to pull from that database or you can manually type in a fax contact. You will see thumbnails of your document on the right. You can double click it to view it zoomed up.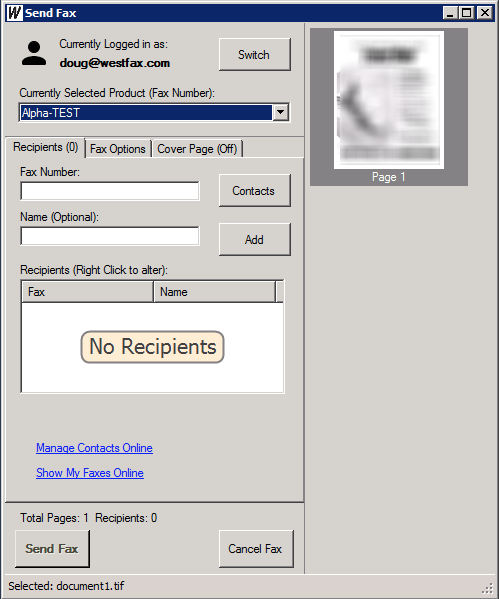
Fax Options Tab
Here is where you can set the HEADER (Prints on the top middle of the outbound fax), SUBJECT (Shows up in reports and confirmation reciepts) and REFERENCE (Shows up on the subject line of the Confirmation Reciept. None of these fields are required but very useful for tracking down faxes later.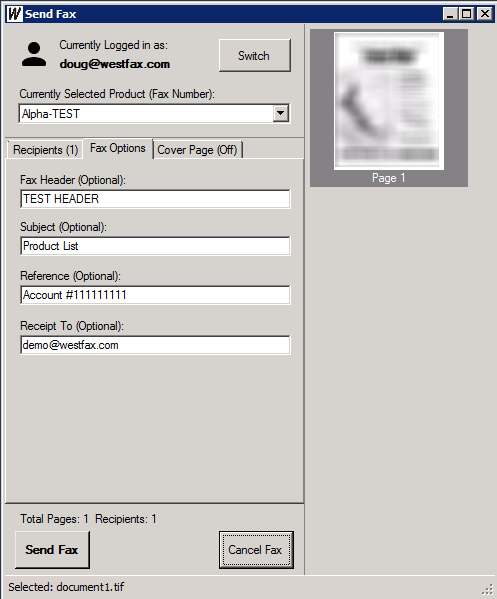
Cover Page Tab
If you have a cover page designed you can choose that here. (To create a cover page see our video on the new Fax Console). Once you select a cover page it will be inserted into your document list and you can add a personal message and change the "From" name as well.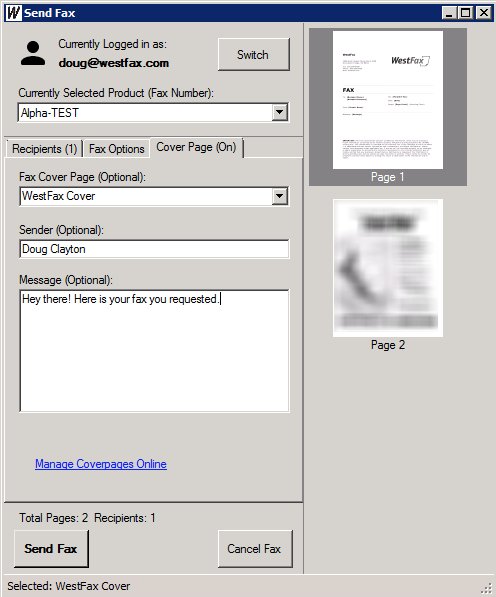
Ok, Now you are ready to send. As long as you have at least one fax recipient you can click Send Fax. You’ll see a dialog popup that says “Fax Sent”- Done! Ok, so if you followed along your fax is on the way. You can fax yourself if you want to test it. Also, if you want to see the fax status you can log into your Fax to Email account and see the new outgoing fax there.
Any issues or questions? Please feel free to reach out to our team and talk to a real person. Click here to contact us.