GETTING STARTED - OneLogin SSO
In this tutorial, you'll learn how to integrate WestFax with OneLogin's Single Sign on solution.
When you integrate WestFax with OneLogin, you can:
- Control who has access to the WestFax platform.
- Enable your users to be automatically signed-in to WestFax with their OneLogin SSO accounts.
- Manage your accounts in one central location.
Prerequisites
To get started, you need the following items:
- OneLogin Organization Account with at least one user.
- WestFax Enterprise account with AD/SSO enabled.
Configuring WestFax for SSO
If you have enabled SSO/AD with WestFax you are just a few steps away from enabling single sign on with WestFax.
Here are the steps to get your SSO setup with WestFax:
In order to utilize SSO and Active Directory sync you must have SSO enabled on your account. Contact your account manager and ask them to activate this functionality. There may be some setup fees involved. Your account manager can walk you through the process and provision your account.
After you are SSO enabled you will want to login to the admin tool and go to the SSO tab and you should see a screen like this:
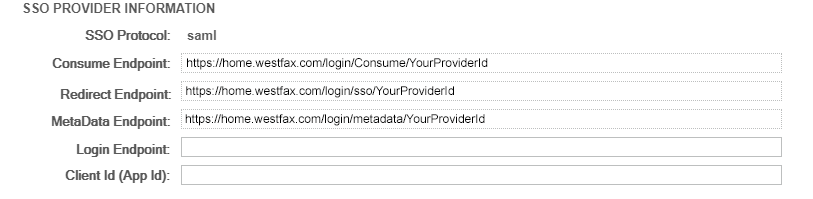
There are three values here you want to copy for use in the Azure setup:
Consume Endpoint:
Redirect Endpoint:
Metadata Endpoint:
After you are SSO enabled you will want to login to the admin tool and go to the SSO tab and you should see a screen like this:
There are three values here you want to copy for use in the Azure setup:
Consume Endpoint:
https://home.westfax.com/login/Consume/YourProviderIdRedirect Endpoint:
https://home.westfax.com/login/sso/YourProviderIdMetadata Endpoint:
https://home.westfax.com/login/metadata/YourProviderIdYou will need these values later. Copy them somewhere for use.
At this point you need to log in to OneLogin Admin panel for your organization. We will create a new App in the Applications section for use with OneLogin
Here are the steps:
Here are the steps:
- Login to OneLogin Admin Dashboard
With your admin account log into the OneLogin Admin portal cloud website. - Go to Applications -> Applications
- Click "Add App" Button on the top Right
- In the Search Box type
SAML Custom Connector
You will see a few items. Choose the one that is labeled:SAML Custom Connector (Advanced)and the author is OneLogin. This is the initial template for a SAML connection to WestFax.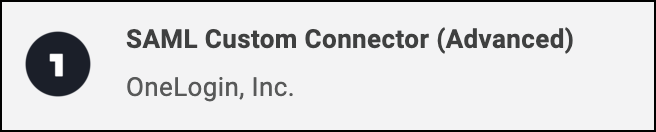
- Click the
SAML Custom Connector (Advanced)option
Enter WestFax for the name and here is a logo you can use if you like for the application Logo. Click Save when you are done. This will create the WestFax Application and give you additional settings to change in the next steps.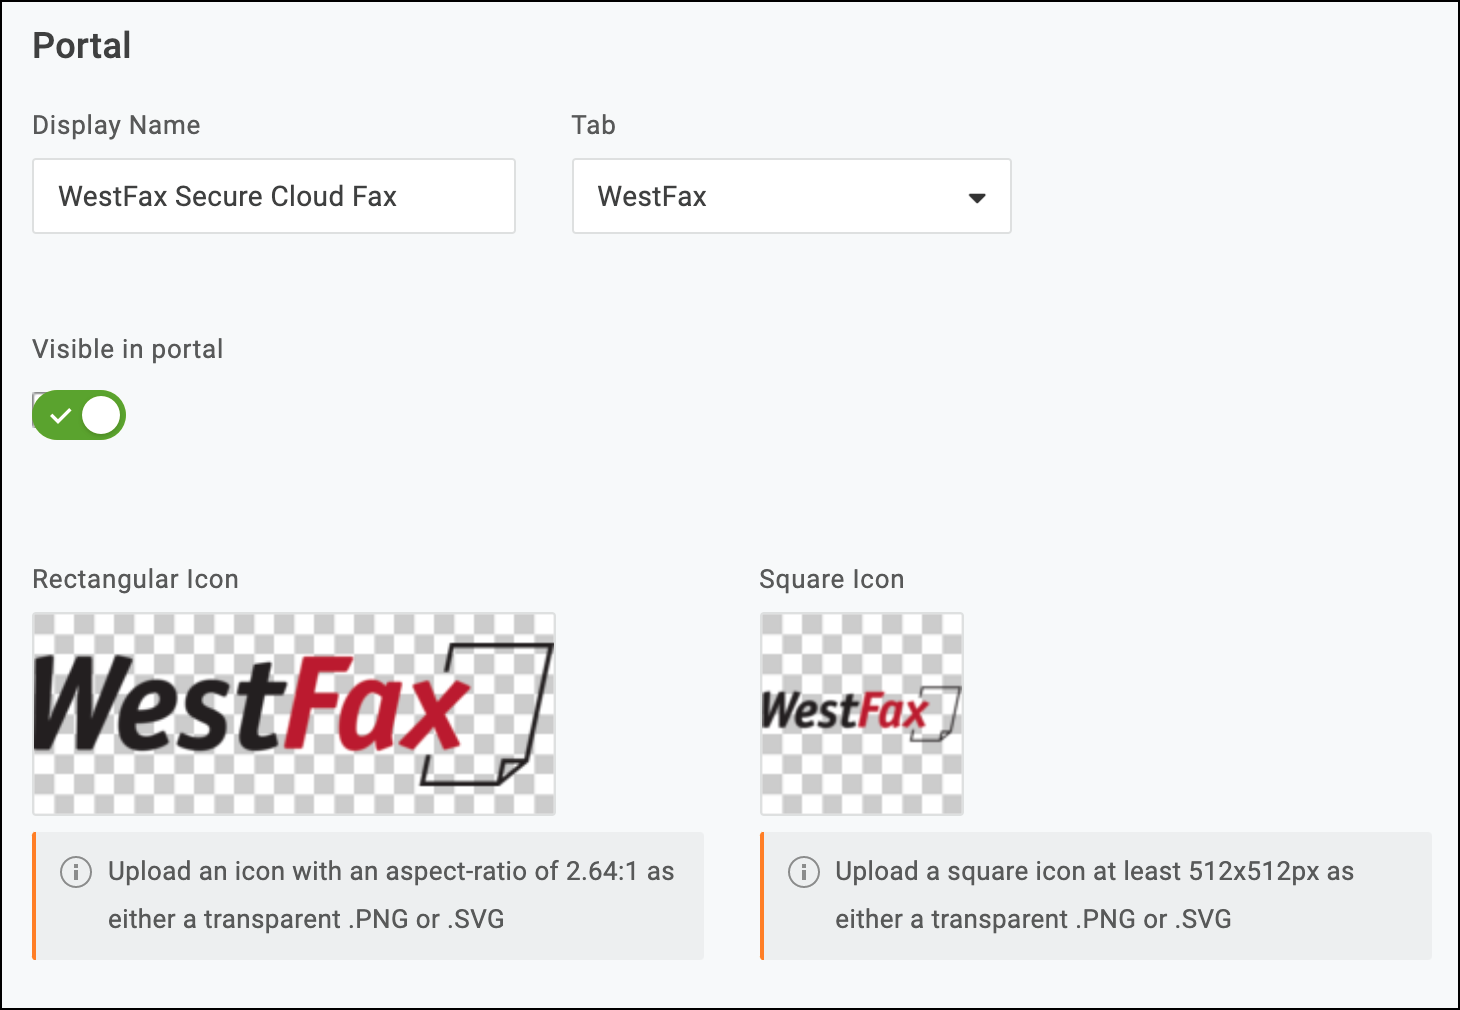
- Click Configuration on the left menu.
You will copy several values you previously saved from the first step when you were on the WestFax Admin panel.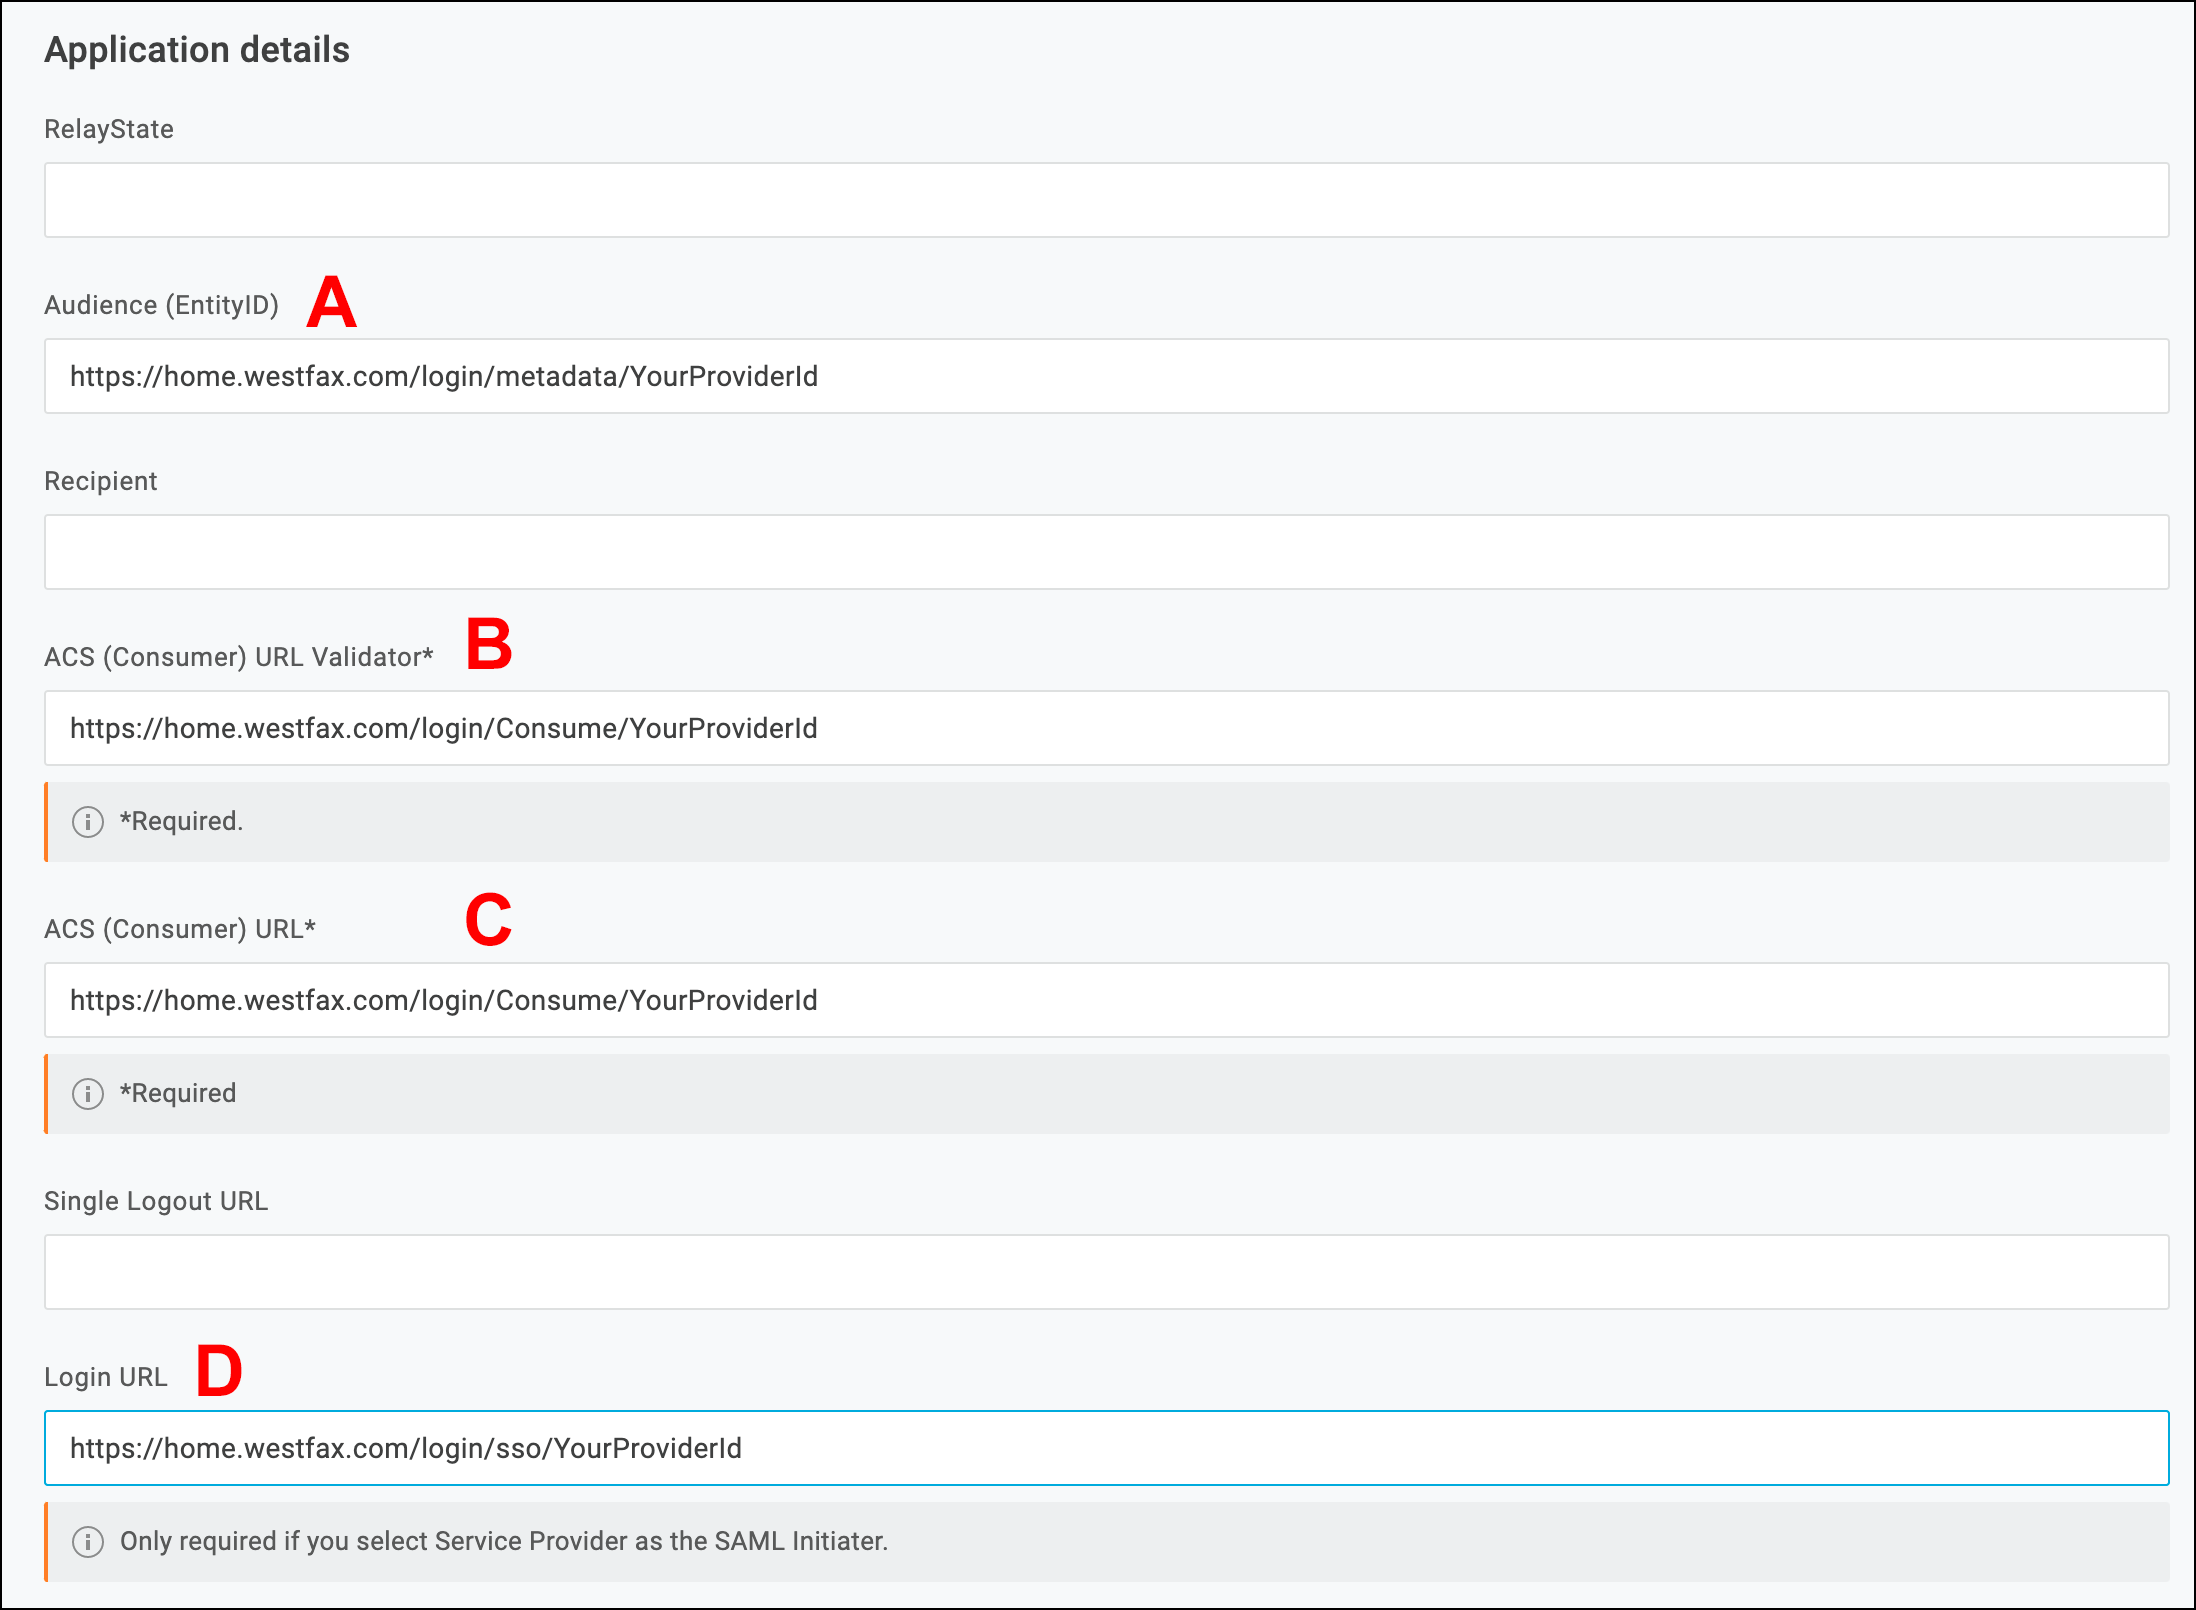
For the fields enter the following:- A - Audience (Entity ID): https://home.westfax.com/login/metadata/YourProviderId
- B - ACS (Consumer) URL Validator: https://home.westfax.com/login/Consume/
YourProviderId - C - ACS (Consumer) URL: https://home.westfax.com/login/Consume/
YourProviderId - D - Login URL: https://home.westfax.com/login/sso/
YourProviderId
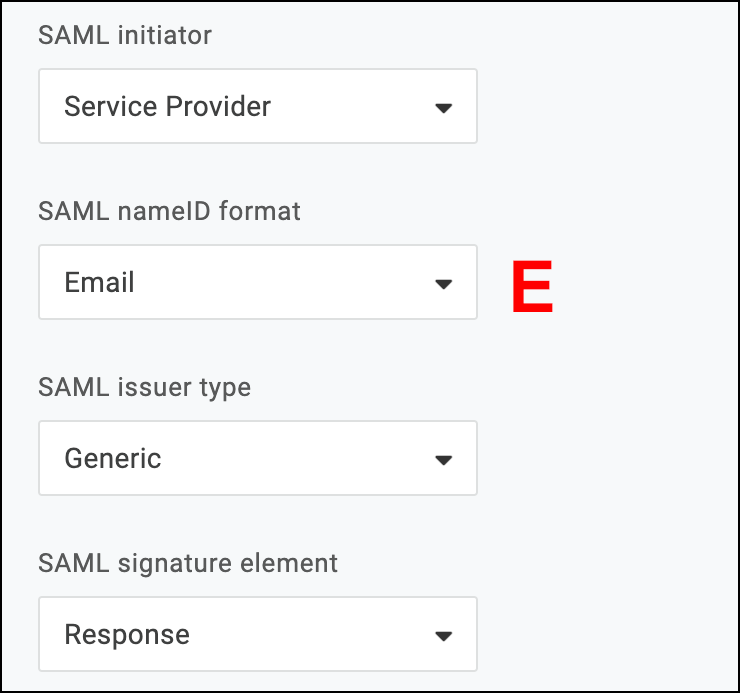
For theSAML nameID Format> enter the following:- E - SAML nameID Format: Email
* Note: We can use other values for this but this is the default for WestFax. - Now Click SSO on the left menu
On this page we will copy ourSAML 2.0 Endpoint (HTTP). Save this to your notepad for use in the next step.
- Click
View Detailsunder the X.509 Certificate box.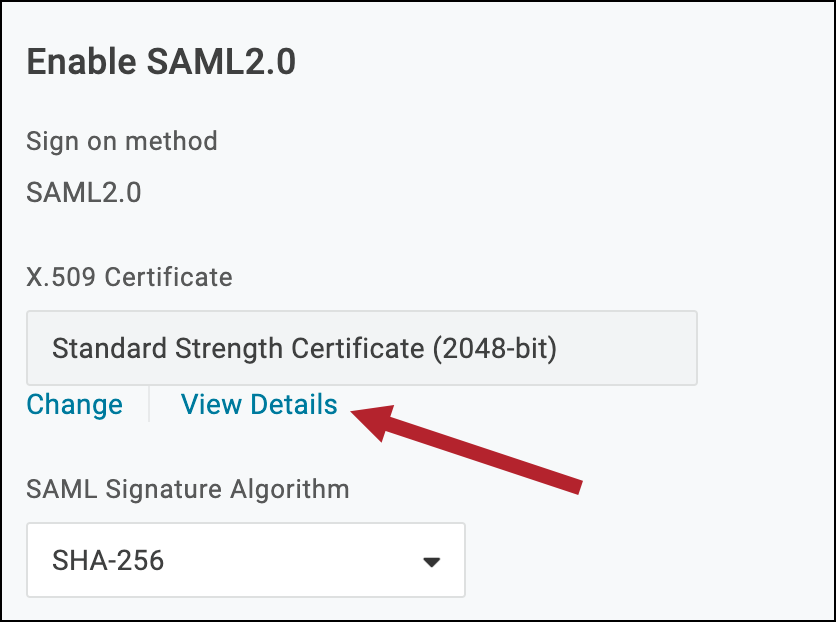
Download the Certificate to a secure location. You will use this in the last step. - Done with the OneLogin settings. Click Save to finalize your settings. You will have to manage your users access to the WestFax app as you would for any OneLogin application.
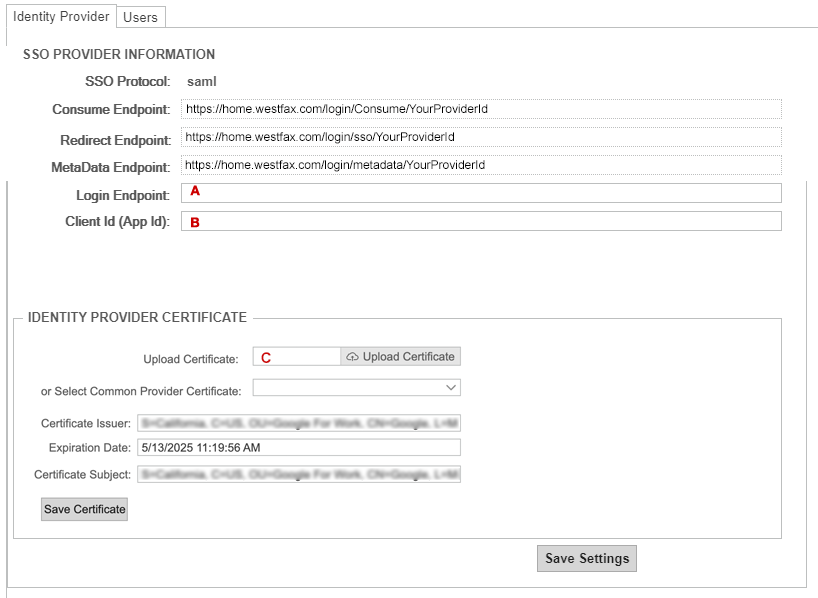
Now you will want to copy the two values from the Previous step into the WestFax SSO panel. Then we'll also add your OneLogin x.509 certificate as well. You will need to login to the WestFax Admin panel first and click on the SSO section.
Here is the screen you will add your settings.
Needed Settings:
When you are done click Save Settings.
You are now setup for SSO!
You will want your team to login using the
Here is the screen you will add your settings.
Needed Settings:
A - Login Endpoint - This comes from the previous step (SAML 2.0 Endpoint (HTTP)).B - Client Id (App Id) - This comes from the previous step (SAML 2.0 Endpoint (HTTP) snippet). You need to copy the hash GUID value after "/http-post/sso/" for the Client ID.C - Certificate x.509 - This is the certificate file you previous downloaded. Click upload, select your X.509 certificate.When you are done click Save Settings.
You are now setup for SSO!
You will want your team to login using the
Redirect Login link which is:https://home.westfax.com/sso/login/YourProviderIdIf you have any questions please reach out to us directly at 303-299-9329 or contact your account manager.