WestFax PaperCut Connector Setup Instructions
Prerequesites:
- WestFax Account (get one today)
- Recent PaperCut MF or NG
- WestFax API Key (Call or Email us)
- 64 Bit Windows Server
How to install the WestFax Connector on your PaperCut Server
Make sure you have the latest versions of PaperCut MF or NG. It does not work on the PaperCut Mobile or Hive versions.
Download the PaperCut WestFax Connector
Your account manager or sales rep should have provided this link. You can request it here as well. Once you have downloaded the Connector you can unzip it onto a local temp folder.
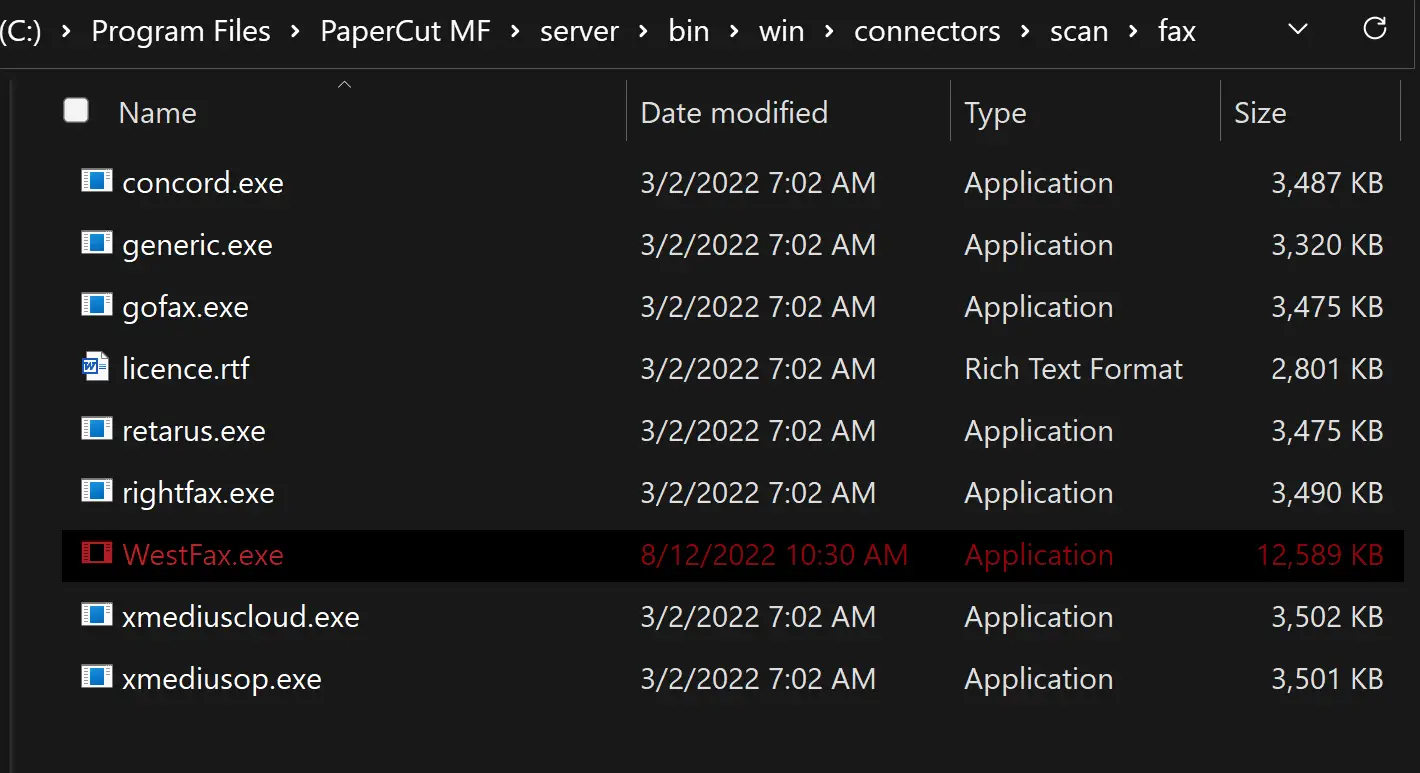
You will see a file named WestFax.exe. This file should be copied to C:\Program Files\PaperCut MF\server\bin\win\connectors\scan\fax\ or the location of your PaperCut installation. You may need to contact Papercut for this information.
Restart the PaperCut Windows Services
In order for the new fax connector to be available you will need to restart the PaperCut Services on your server. Please choose a time that will not disrupt your organizations printing as PaperCut services may take a few minutes to cycle.

(Optional) Update the Max Attachment size for Scans
Most faxes are smaller in size. They don't need to be 300 dpi like an email scan job. They can be scanned at 200dpi just fine. In some cases the file size can be too large. The setting in PaperCut that applies is system.scan.fax-max-job-size-kb. It may not be present and you may have to create it. If you aren't sure contact your PaperCut Support rep. The default size is 20mb. Fax can handle more that 20mb. WestFax can handle 50mb files. You would have to increase the size manually to allow larger faxes to send these faxes.

Setup the WestFax Fax Connector in PaperCut
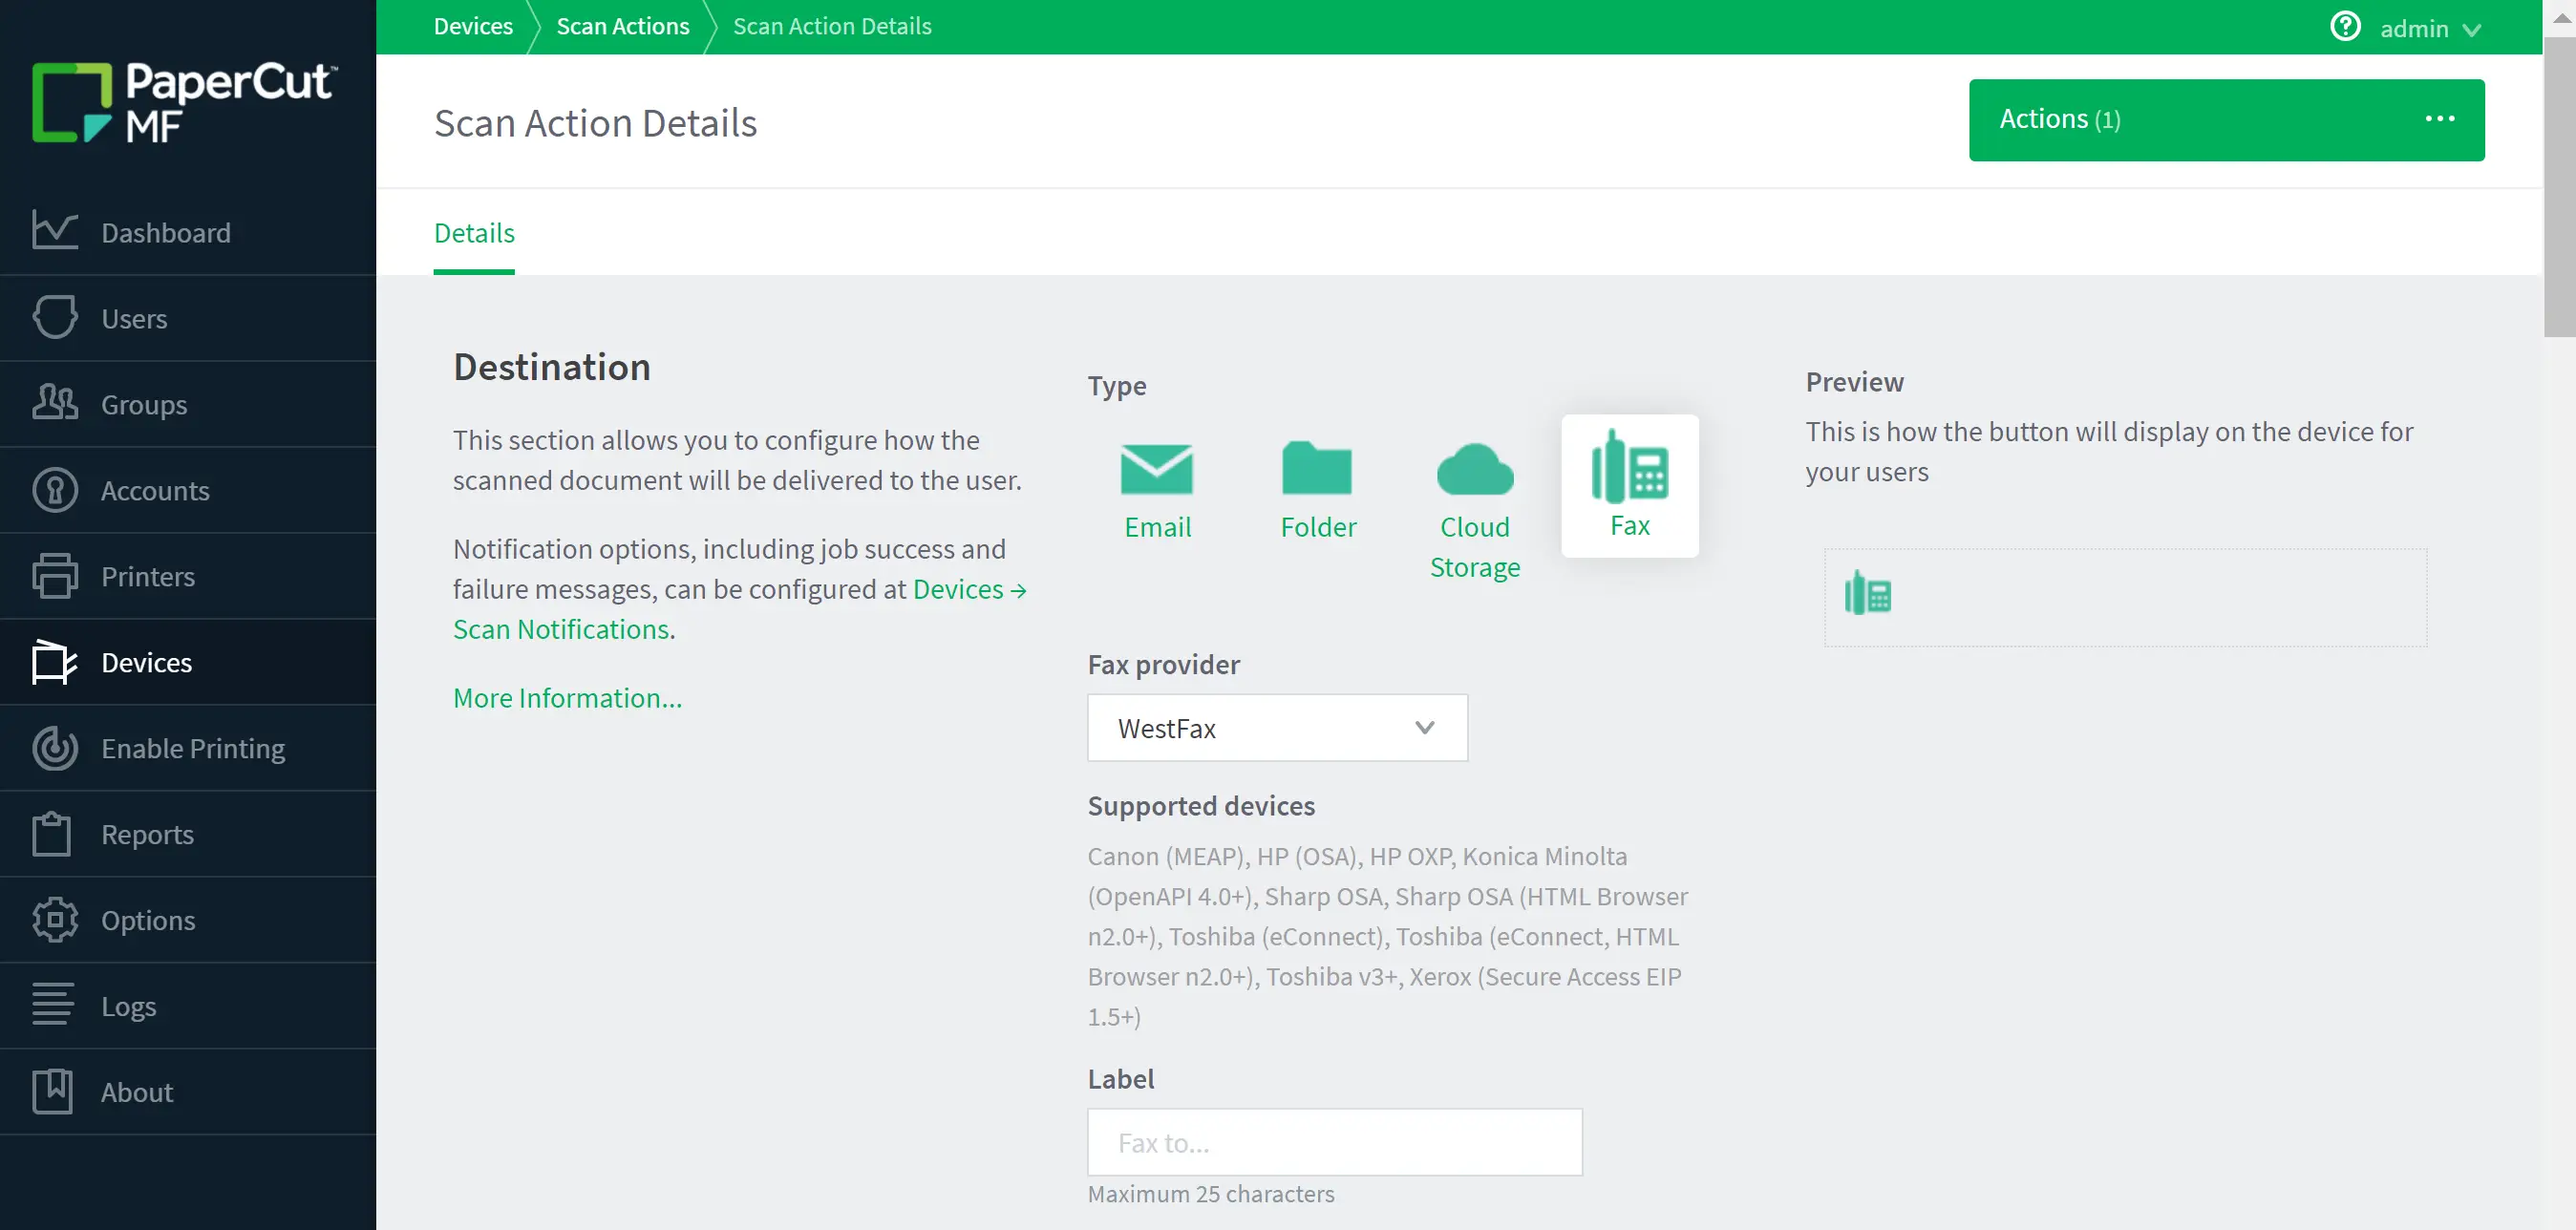
You will now be able to setup the WestFax Connector in the scan actions. If you go to the Devices->Scan Actions and click the Create New button.
Now you need to take your WestFax settings and fill in this form. There are 6 values: API Base URL, Username, Password, Product Id, Caller Id, Default Cover Page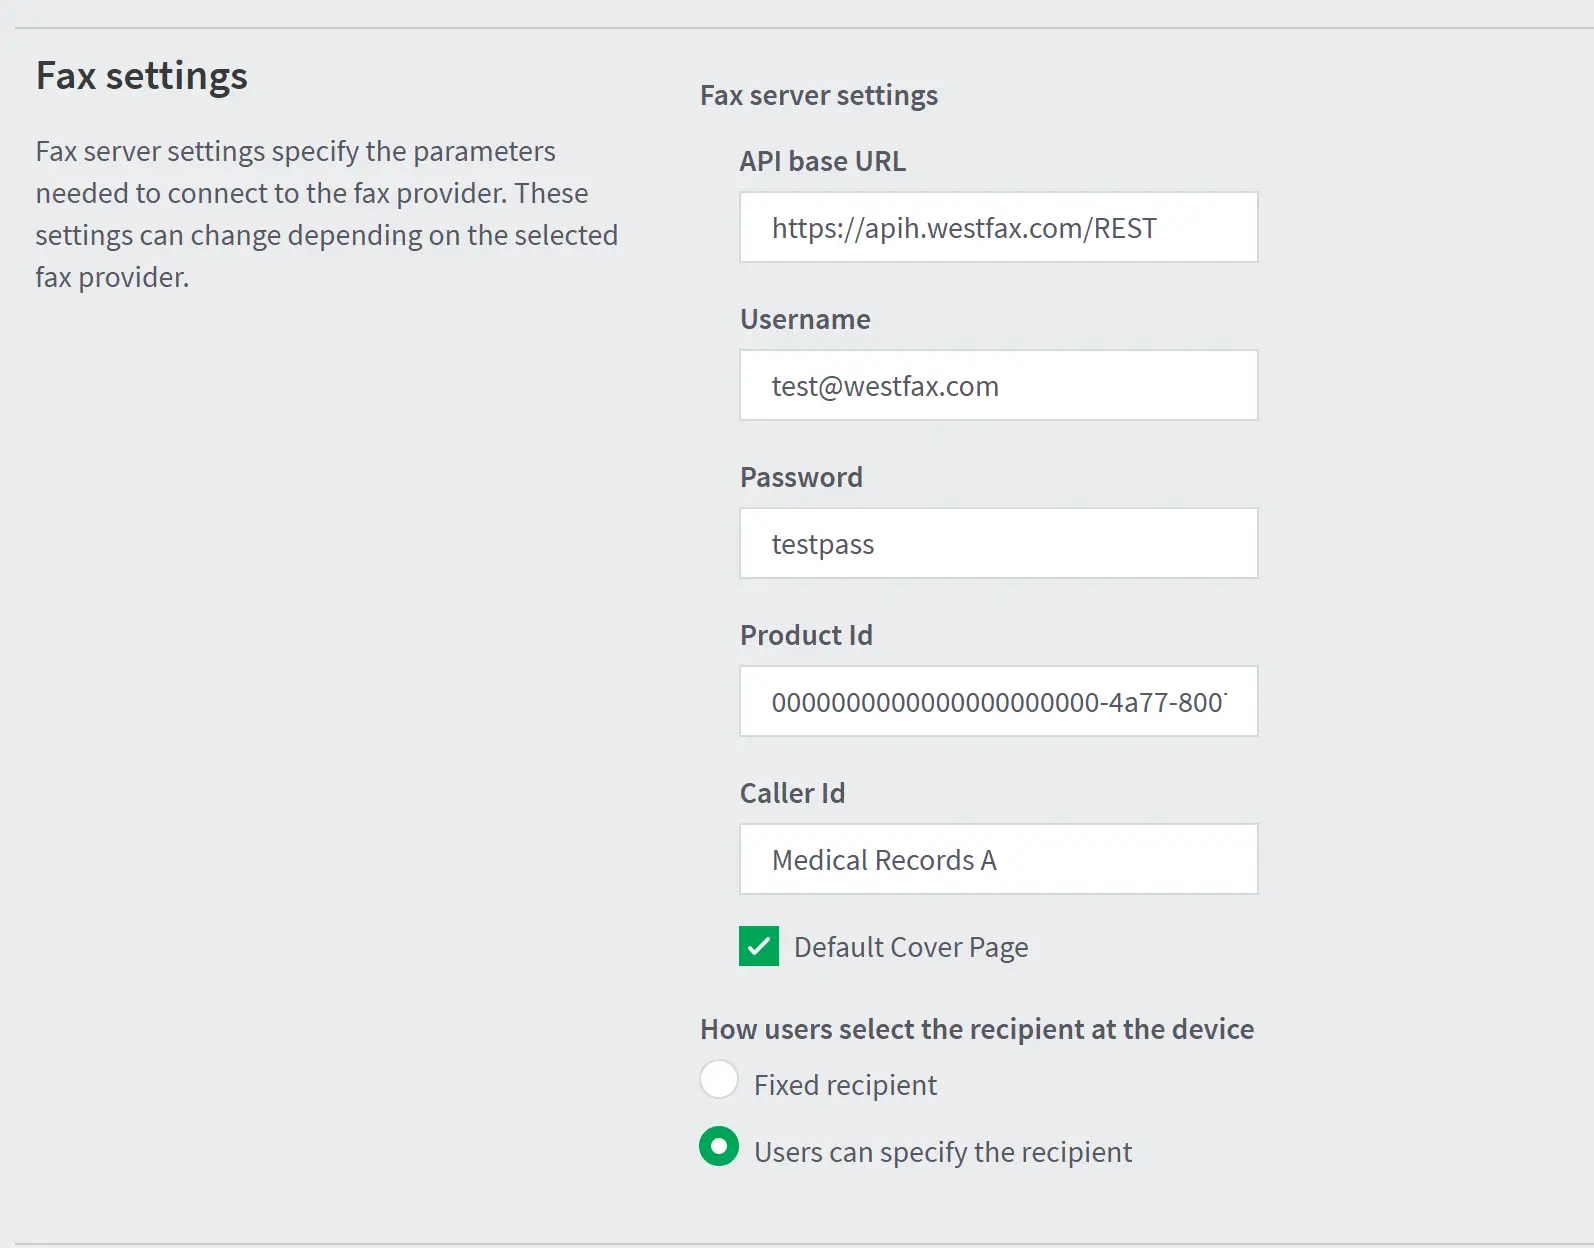 Each of these are explained below:
API Base URL- This is already prefilled. Do not change it unless you are told to by WestFax.Username- This is your WestFax LoginPassword- This is your WestFax PasswordProduct Id- This is your Unique Identifier for your fax number. Every Fax line has a different Product Id. WestFax will provide this information or you can get it by following these directions (advanced).Caller Id- (Optional) If you leave this blank it will use your fax number. You can override it by setting a value here.Default Cover Page- (Optional) If you check this box the cover page nameddefaulton your fax line will be used for each outbound fax.
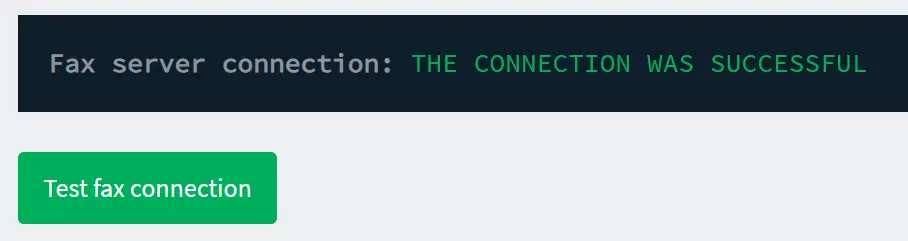
Once you have entered this information click the Test Connection button to verify the settings. If it doesn't return the value you see above check your firewall settings, login, password and productId to make sure they are correct. You can also contact us and we'll try to help you out as well.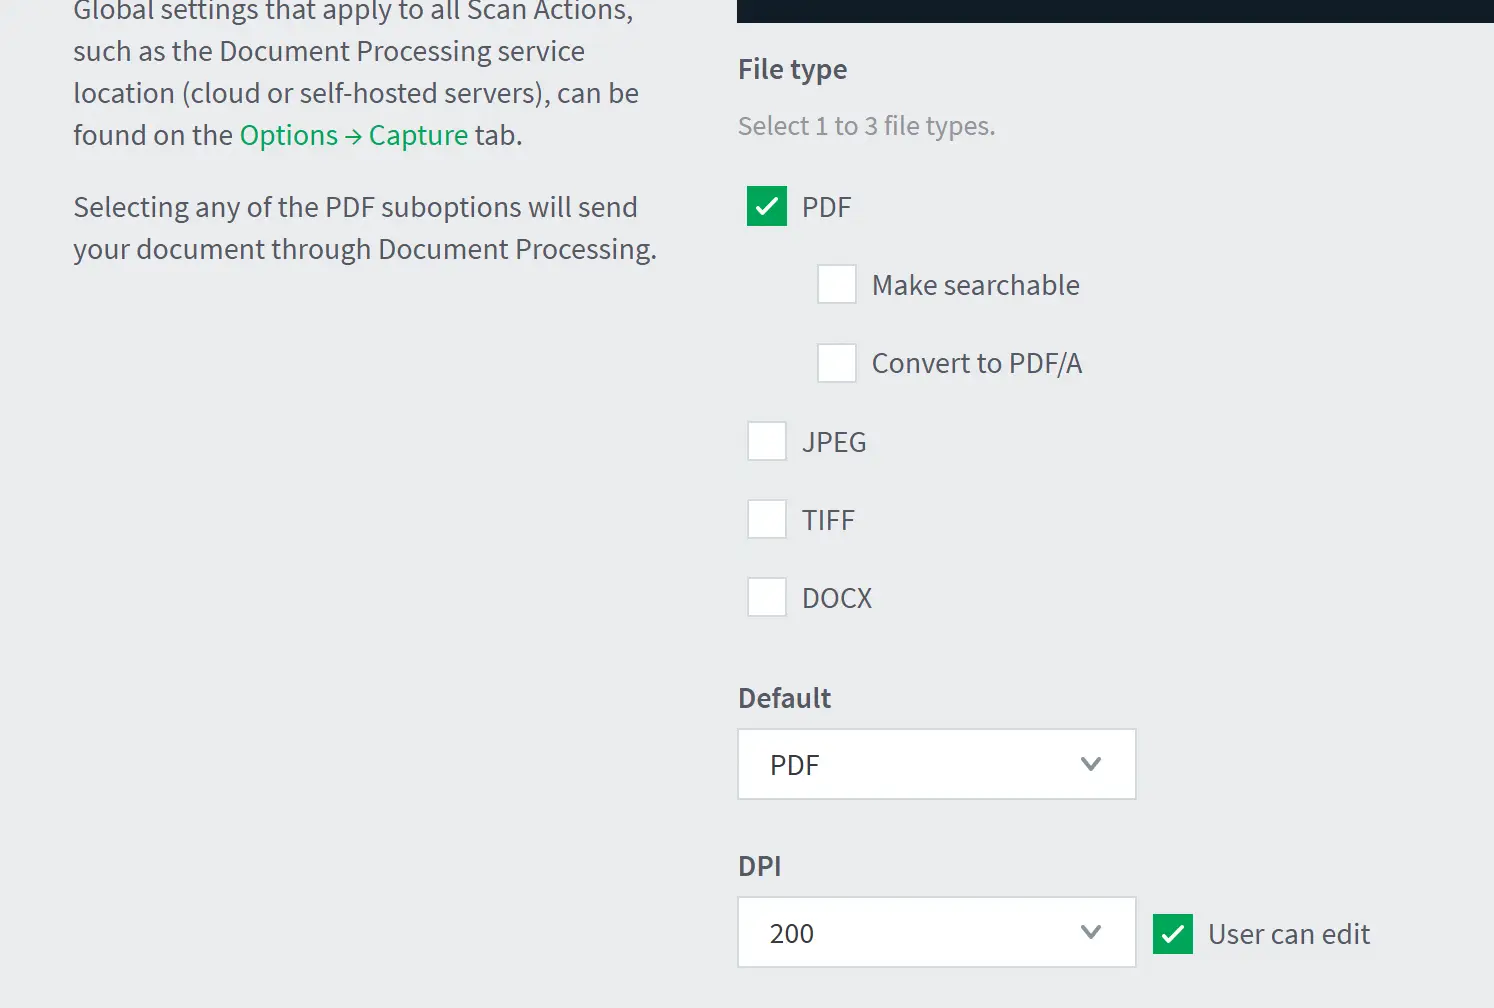
The settings for the file creation are up to you. Most people use PDF and you should set this accordingly. Fax does not need 300 dpi. 200dpi will suffice and PDF is fine too as well as TIFF.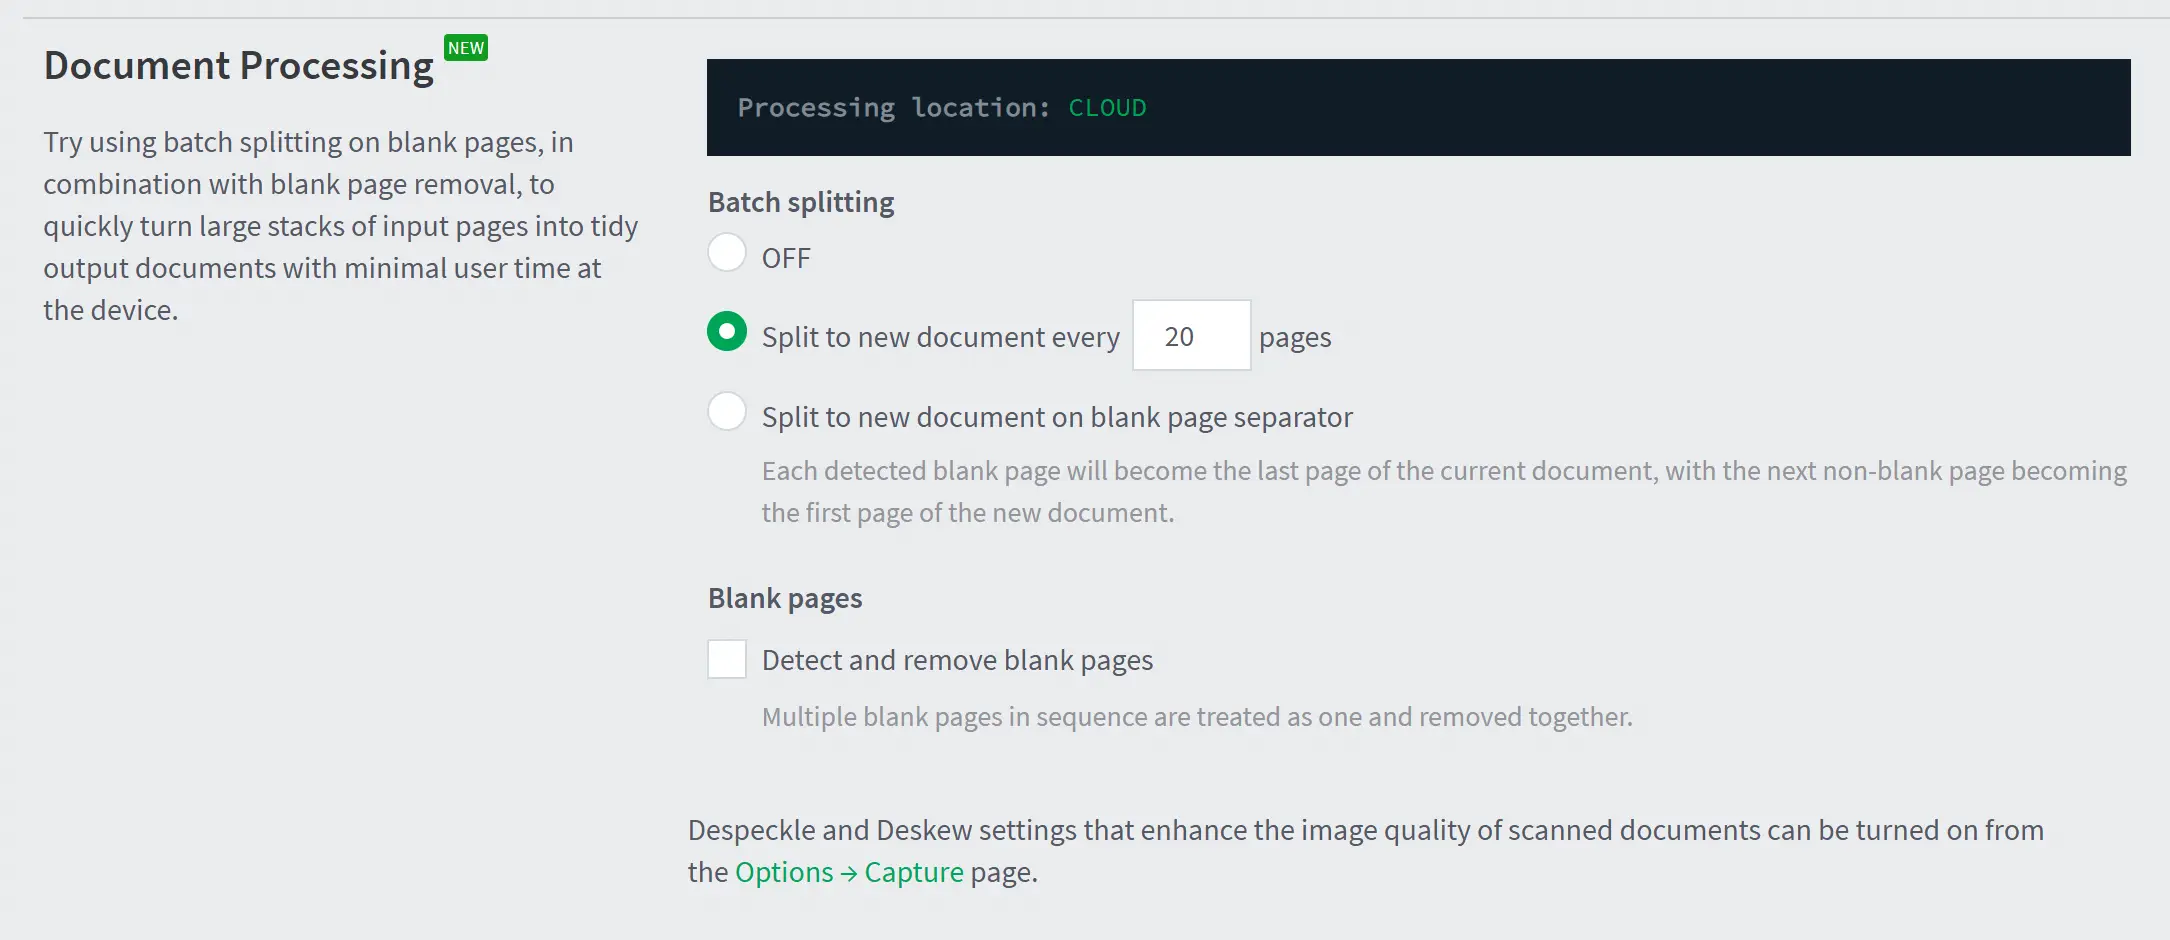
You can also break the PDF files into pieces as well to keep document sizes relatively small. Our platform will work fine either way.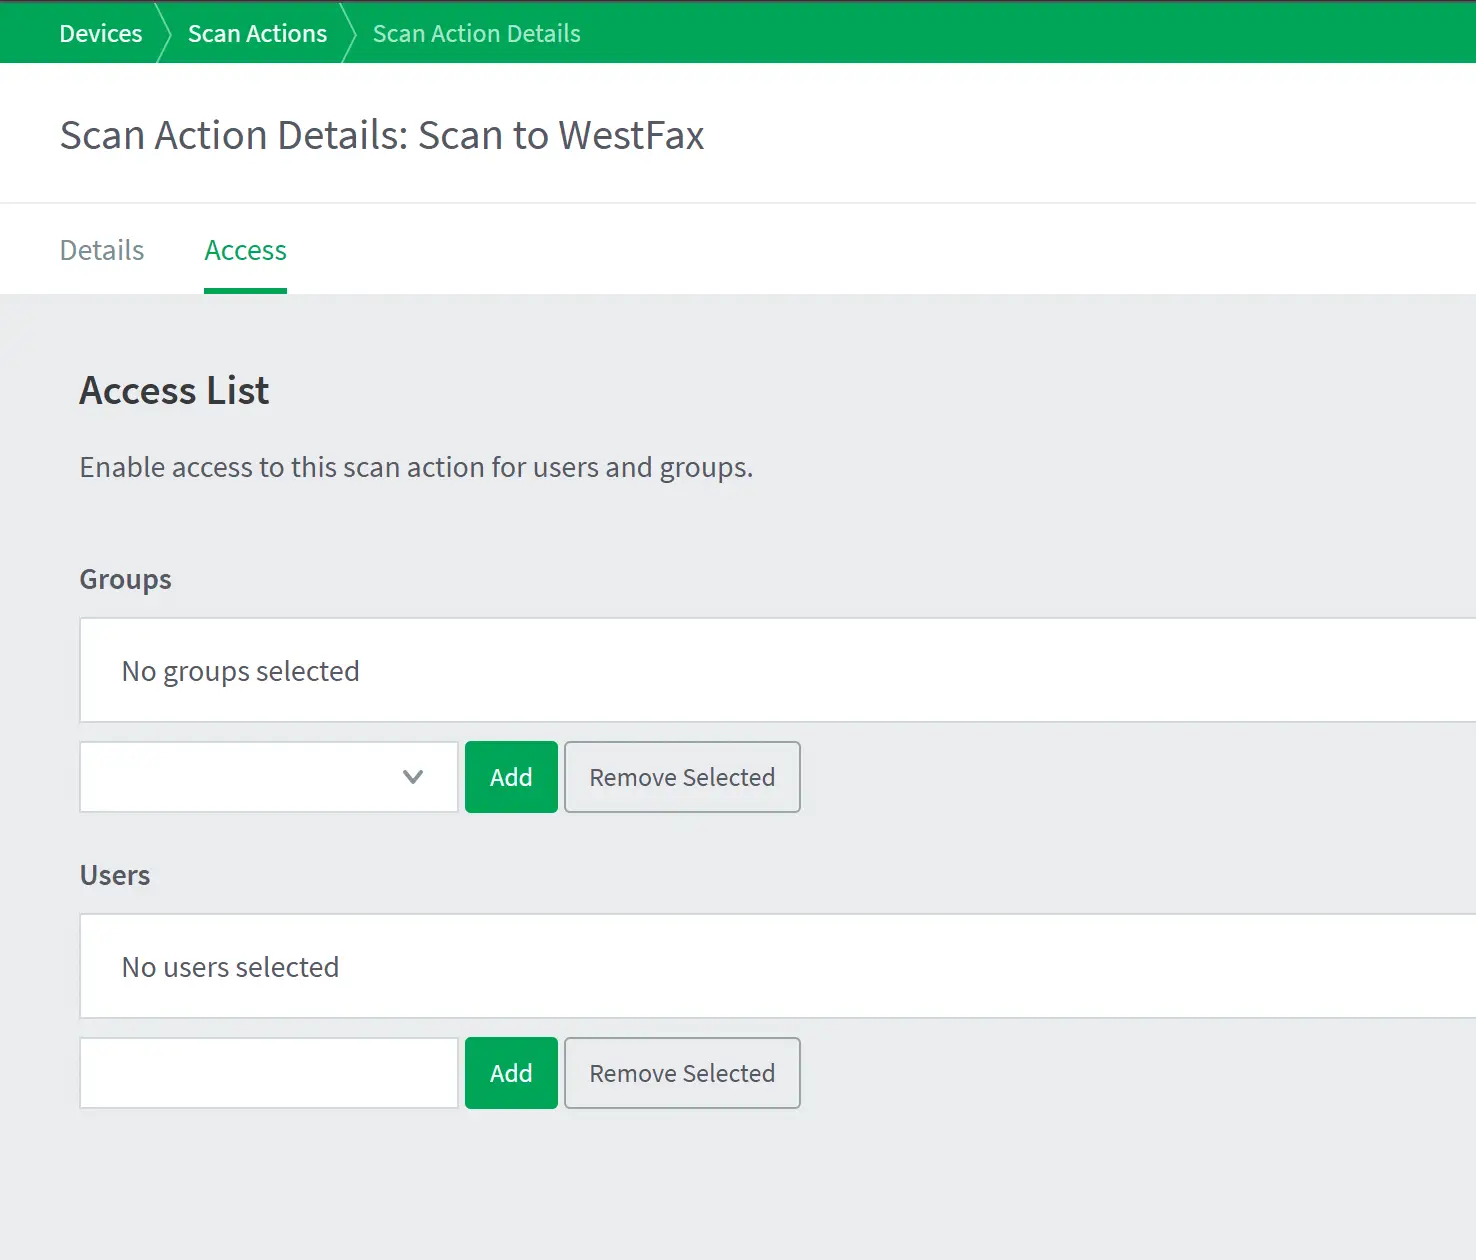
On this screen you can setup the access permissions for this Scan action. After you setup the permissions the software setup is done.