
 Login
Login
How to Add the WestFax API to Your Enterprise Application
You have your enterprise application coded but you need to be able to send faxes occasionally. Sure, you could just generate a PDF, Print it off and then fax it. But with just a few lines of code, you can integrate faxing into your application.

Adding fax sending to an enterprise application takes just a few lines of code with the WestFax API. WestFax exposes a RESTful interface that accepts JSON or XML, plus SOAP and RPC bindings for teams that need them. Developers connect using any modern framework — PHP, .NET, React, or similar — paired with a free WestFax developer API account and Postman, a free tool for testing API calls and generating working code. After importing the WestFax Postman collection and entering your account credentials, you can send a test fax, confirm the response, and copy the generated code directly into your application in minutes. No custom fax infrastructure or dedicated phone line is required — WestFax handles the transmission, and your application just calls the API. If a test fax doesn't come through, WestFax support can help troubleshoot the connection before you go live.
What You Need to Get Started
Here is what you need before you start:
- We will assume you are using a relatively modern development framework. PHP, React, .Net, etc…
- We recommend you use a tool like Postman (Free and available on all platforms) to test your APIs and generate the code.
- Developer API account. Easy to sign up and get started immediately.
Understanding the WestFax REST API
The WestFax API is comprised of a large set of methods that are exposed using a RESTful interface. Data can be interchanged in a number of formats including JSON and XML. Additionally, WestFax offers SOAP and RPC bindings that are described elsewhere. For the purposes of this demo the REST interface with JSON encoding is used.
Setting Up Postman and Sending a Test
- Get the sample code for Postman. Link here.
- Click Download or Fork it to your local repo.
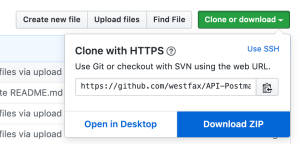
- Once you have the local files you should see two Json Files: WestFaxApi_Postman_collection.json and WestFaxApiEnvironment.postman_environment.json
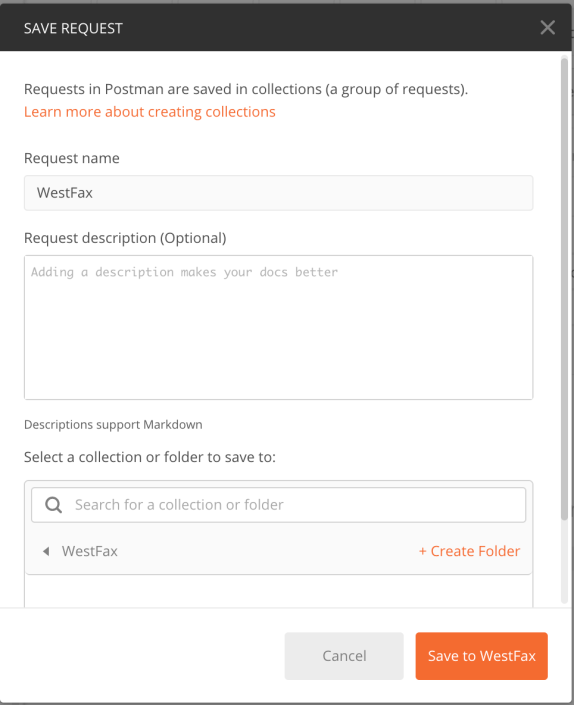
- Open Postman and create a new Request. You can call it whatever you want to call it but we will use WestFax.
- Now go click the File -> Import command.
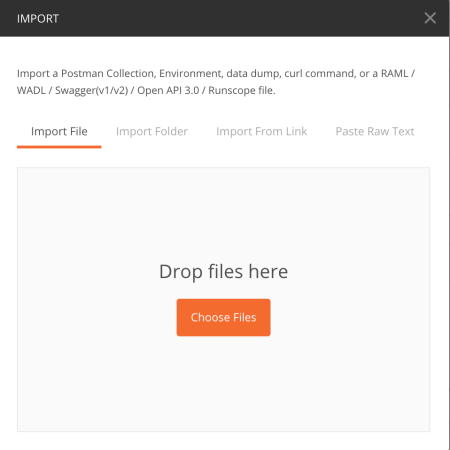
- Drag or select the two Json Files from the code you downloaded earlier and click import.
- You will see it quickly import and you will have 23 requests in your new WestFax Collection.

- Now look at the top right corner of Postman. You should see a drop-down and an “eye” icon and a gear icon.
Select the Dropdown to select “WestFaxApiEnvironment” and then click the Eye icon.
- You will now see a bunch of pre-defined variables. You will want to change these by clicking Edit.
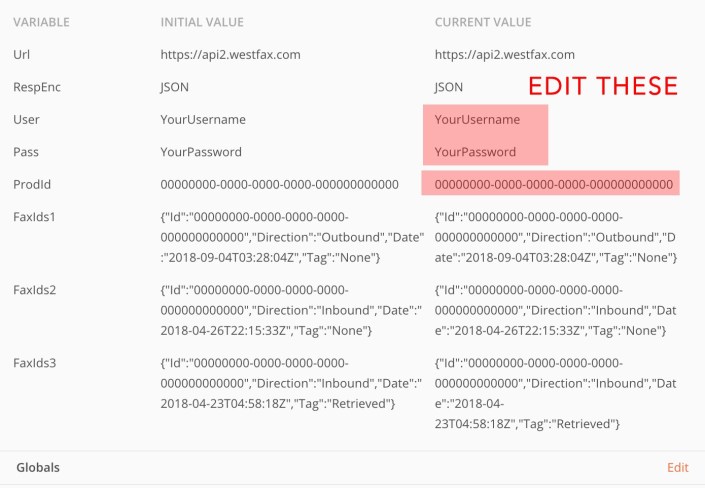
- Change the default values to the ones you received when you signed up for API access.
- Now let’s go test to make sure we are connecting ok and getting a response from the server. On the left menu under “23 requests” select the “Security_Ping”. Go ahead and click the blue “SEND” button.
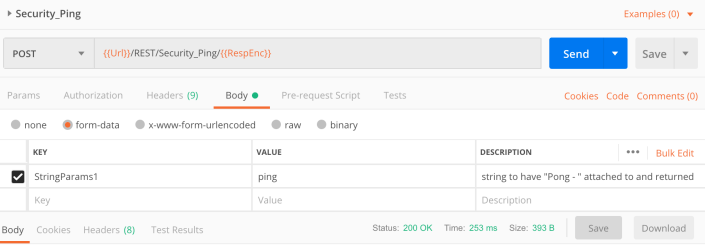
- You should see something like this come back from the API. If not please feel free to contact us for support.
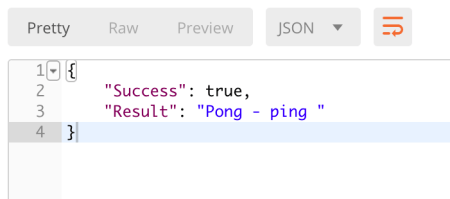
- Now let’s try to send a fax. If you have an incoming number attached to your account you can use that or any other fax number. You can also use the well-known HP Faxback test number at 1-888-473-2963. They will fax you back that they received your fax usually within 5 minutes.
- So click the Fax_SendFax method on the left and you will see this for your Body setup.
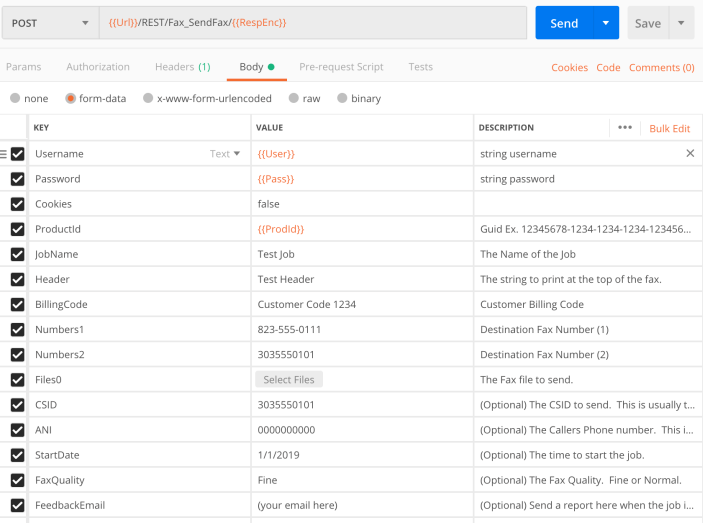
- The {{ Orange }} values are filled in from the config you already set so you can ignore those. The values you need to set are the Numbers1, Files0 fields. The rest are optional and you can unclick them if you want. Although adding a FeedbackEmail value is useful to get confirmation of the fax sending. Once you set all these variables go ahead and click send.
- You should see a result code of True and a hash string with the confirmation code.
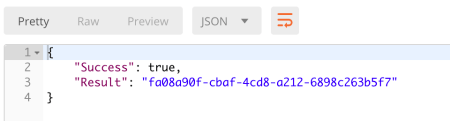
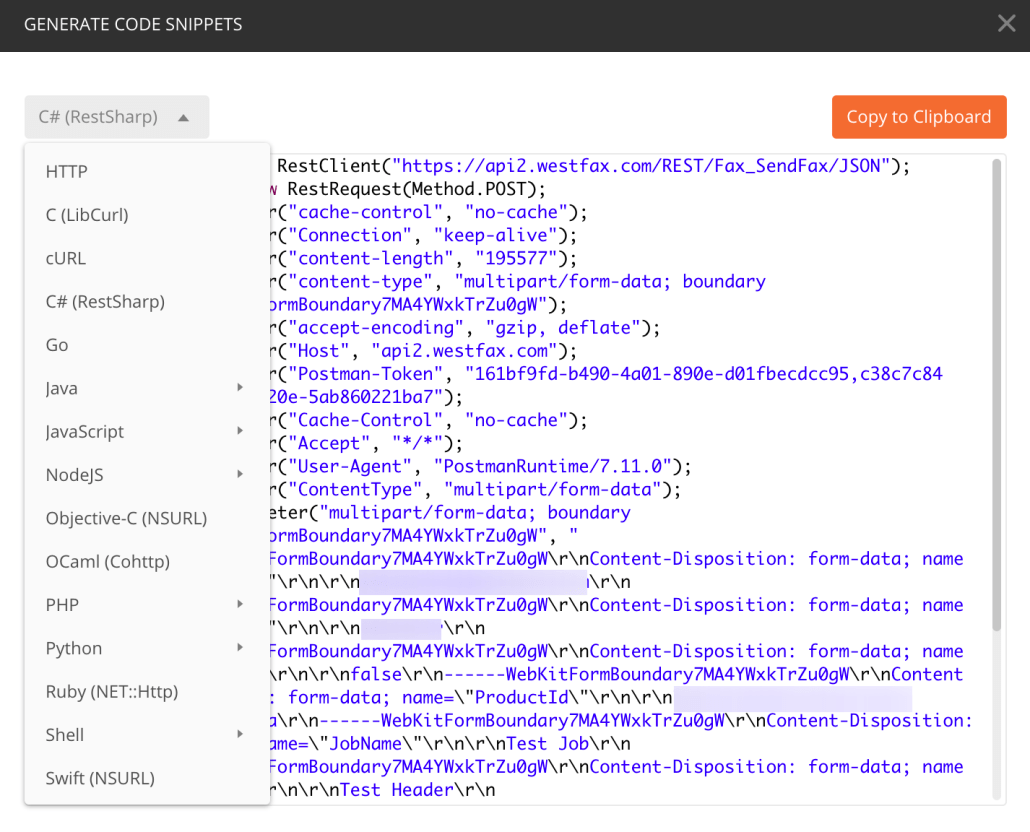
- Ok, so here is a neat trick that Postman give us. You can get all your code done for you. Just click the button “Code”. It’s kind of buried near the Send button next to cookies.
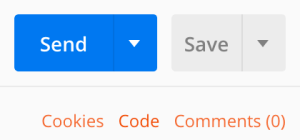
- Now when you click code you will get formatted code for almost any programming language you may need:
Getting Help and Next Steps
Success! As you can see it’s not hard at all to add Faxing to your Enterprise application. If you have questions or need more help please reach out to us at 800-473-6208 or contact us via email.