
 Login
Login
Set Up the WestFax PaperCut Connector
Install the WestFax Connector on your PaperCut server and configure a scan action so scanned documents fax out directly through the WestFax HIPAA cloud fax platform.

The WestFax PaperCut Connector adds WestFax as a scan action on your PaperCut MF or NG server, so a scan at the device can go straight out as a fax instead of landing as a file to sort and send by hand. Setup happens once, on the server: install the connector binary, restart PaperCut's services so it's recognized, then create a Scan Action under Devices → Scan Actions and fill in your WestFax account credentials and product ID. A WestFax account, a WestFax API key, a recent PaperCut MF or NG license, and a 64-bit Windows server are all you need going in. Once the scan action is saved and the test connection succeeds, any device pointed at that action faxes documents directly through the WestFax HIPAA-compliant cloud fax platform — no fax line, no extra software on the copier itself.
Prerequisites and Requirements
Before you start, make sure you have:
- A WestFax Account (get one today)
- A recent PaperCut MF or NG license — the connector does not work on PaperCut Mobile or Hive
- A WestFax API Key (call or contact us to get one)
- A 64-bit Windows server running your PaperCut installation
Download and Install the Connector
Contact us or ask your account manager to request the WestFax Connector. Once you have the package, unzip it to a local temp folder on the PaperCut server. Inside you'll find a file named WestFax.exe.
Copy WestFax.exe into your PaperCut installation's connectors folder, typically C:\Program Files\PaperCut MF\server\bin\win\connectors\scan\fax\. If your installation lives somewhere else, check with PaperCut support to confirm the correct path.
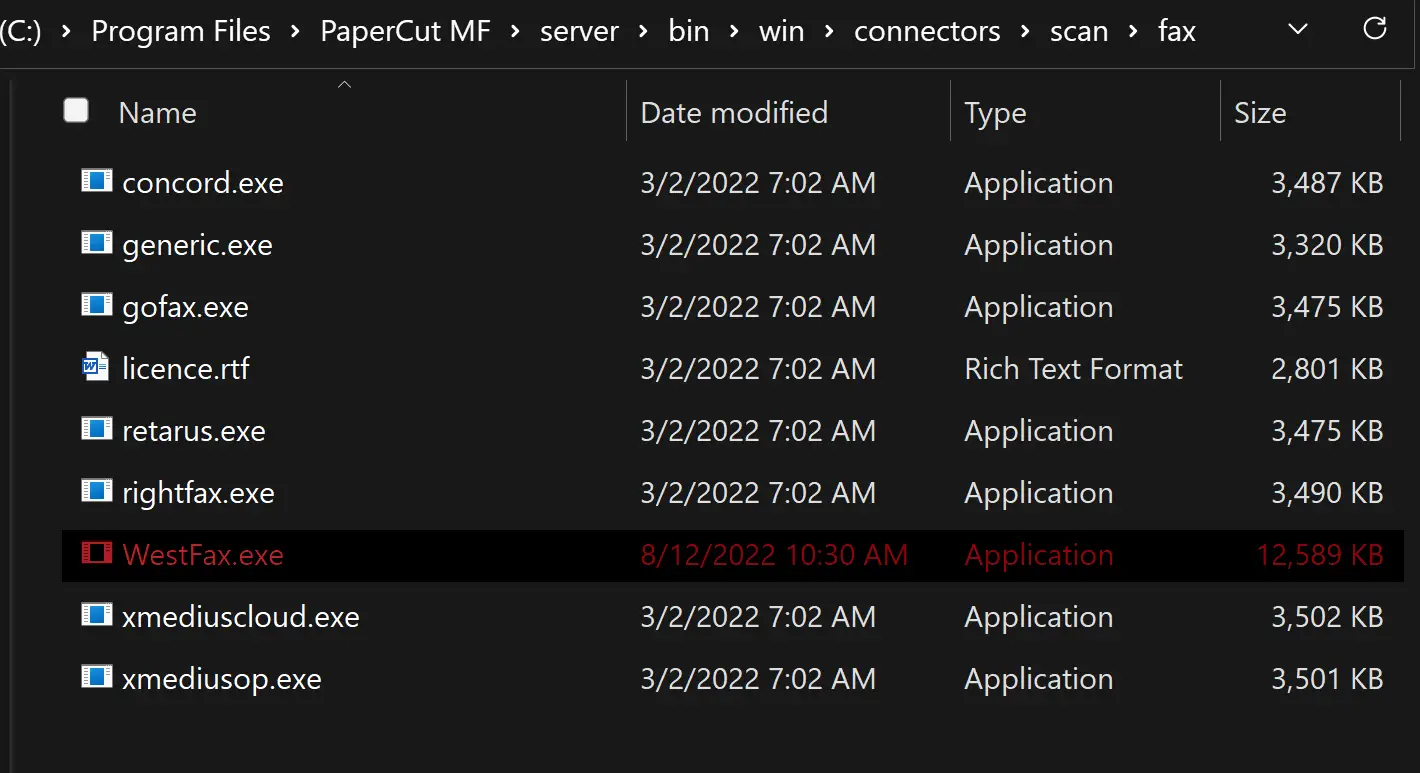
Restart the PaperCut Services
PaperCut only picks up the new connector after its Windows services restart. Schedule this for a time that won't disrupt printing across your organization — the PaperCut services can take a few minutes to cycle back up.

Increase the Max Attachment Size (Optional)
Faxes don't need the 300 DPI most email scans use — 200 DPI is plenty — but PaperCut's default scan job size cap can still be tight for some documents. The setting to change is system.scan.fax-max-job-size-kb in PaperCut's config editor; it defaults to 20MB and may not exist until you create it. WestFax can handle files up to 50MB, so if you're hitting the limit, raise it manually to allow larger faxes through. If you aren't sure, check with your PaperCut support contact before changing it.

Configure the Scan Action
With the connector installed, go to Devices → Scan Actions in the PaperCut admin console and click Create New.
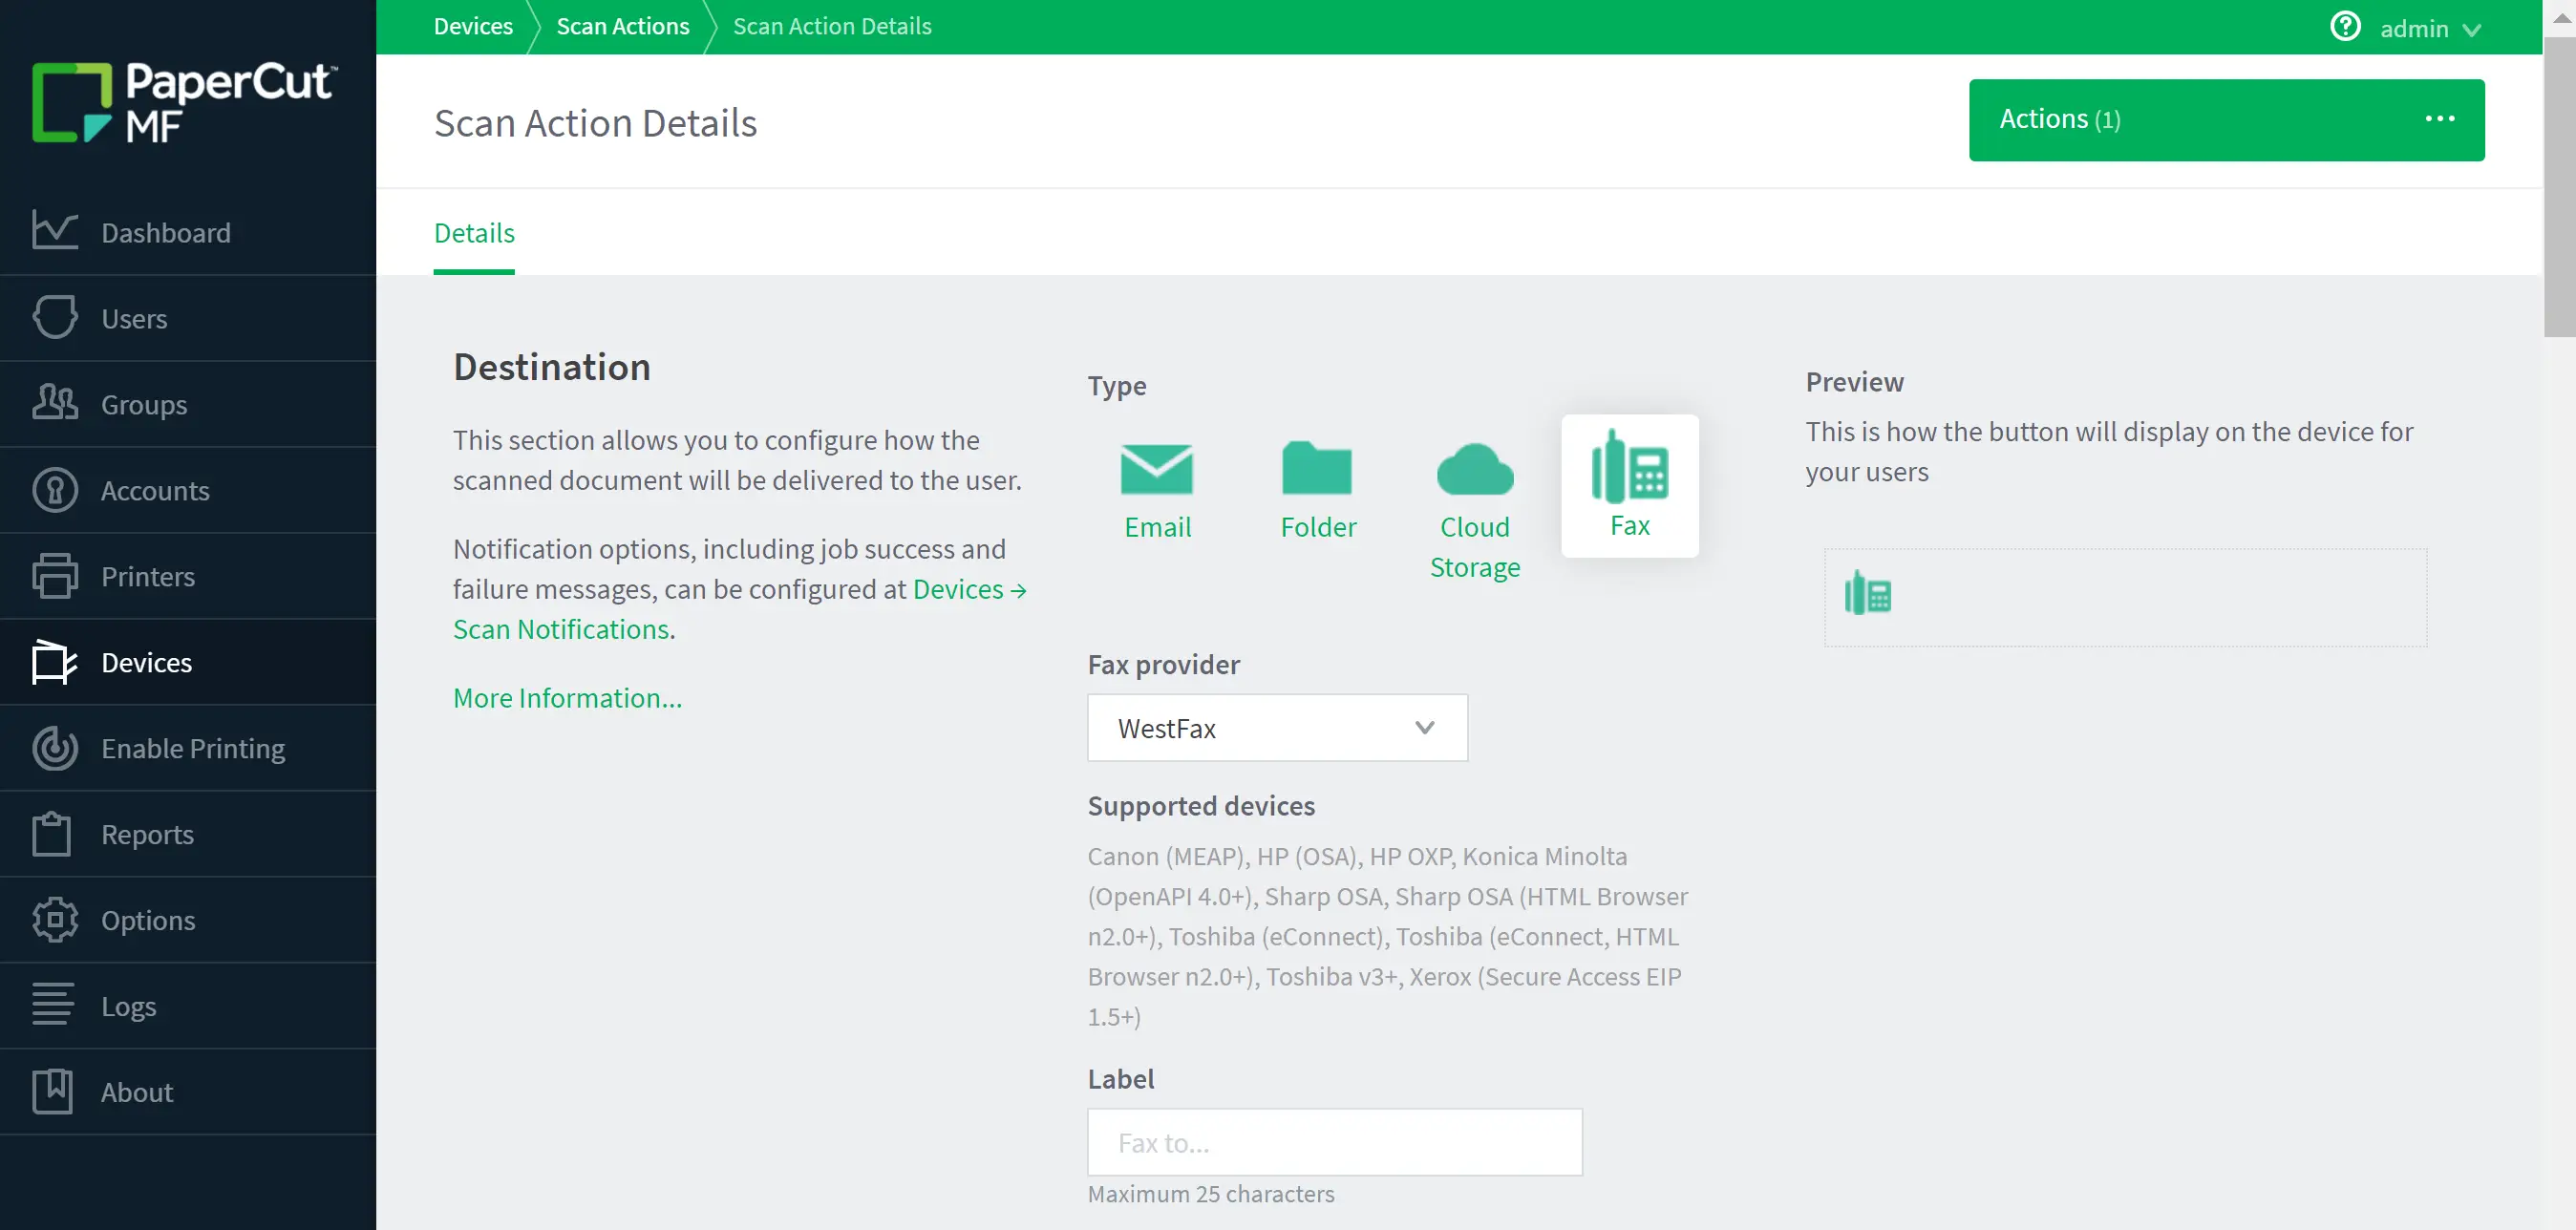
Fill in the WestFax connector form with your account settings. There are six values: API Base URL, Username, Password, Product Id, Caller Id, and Default Cover Page.
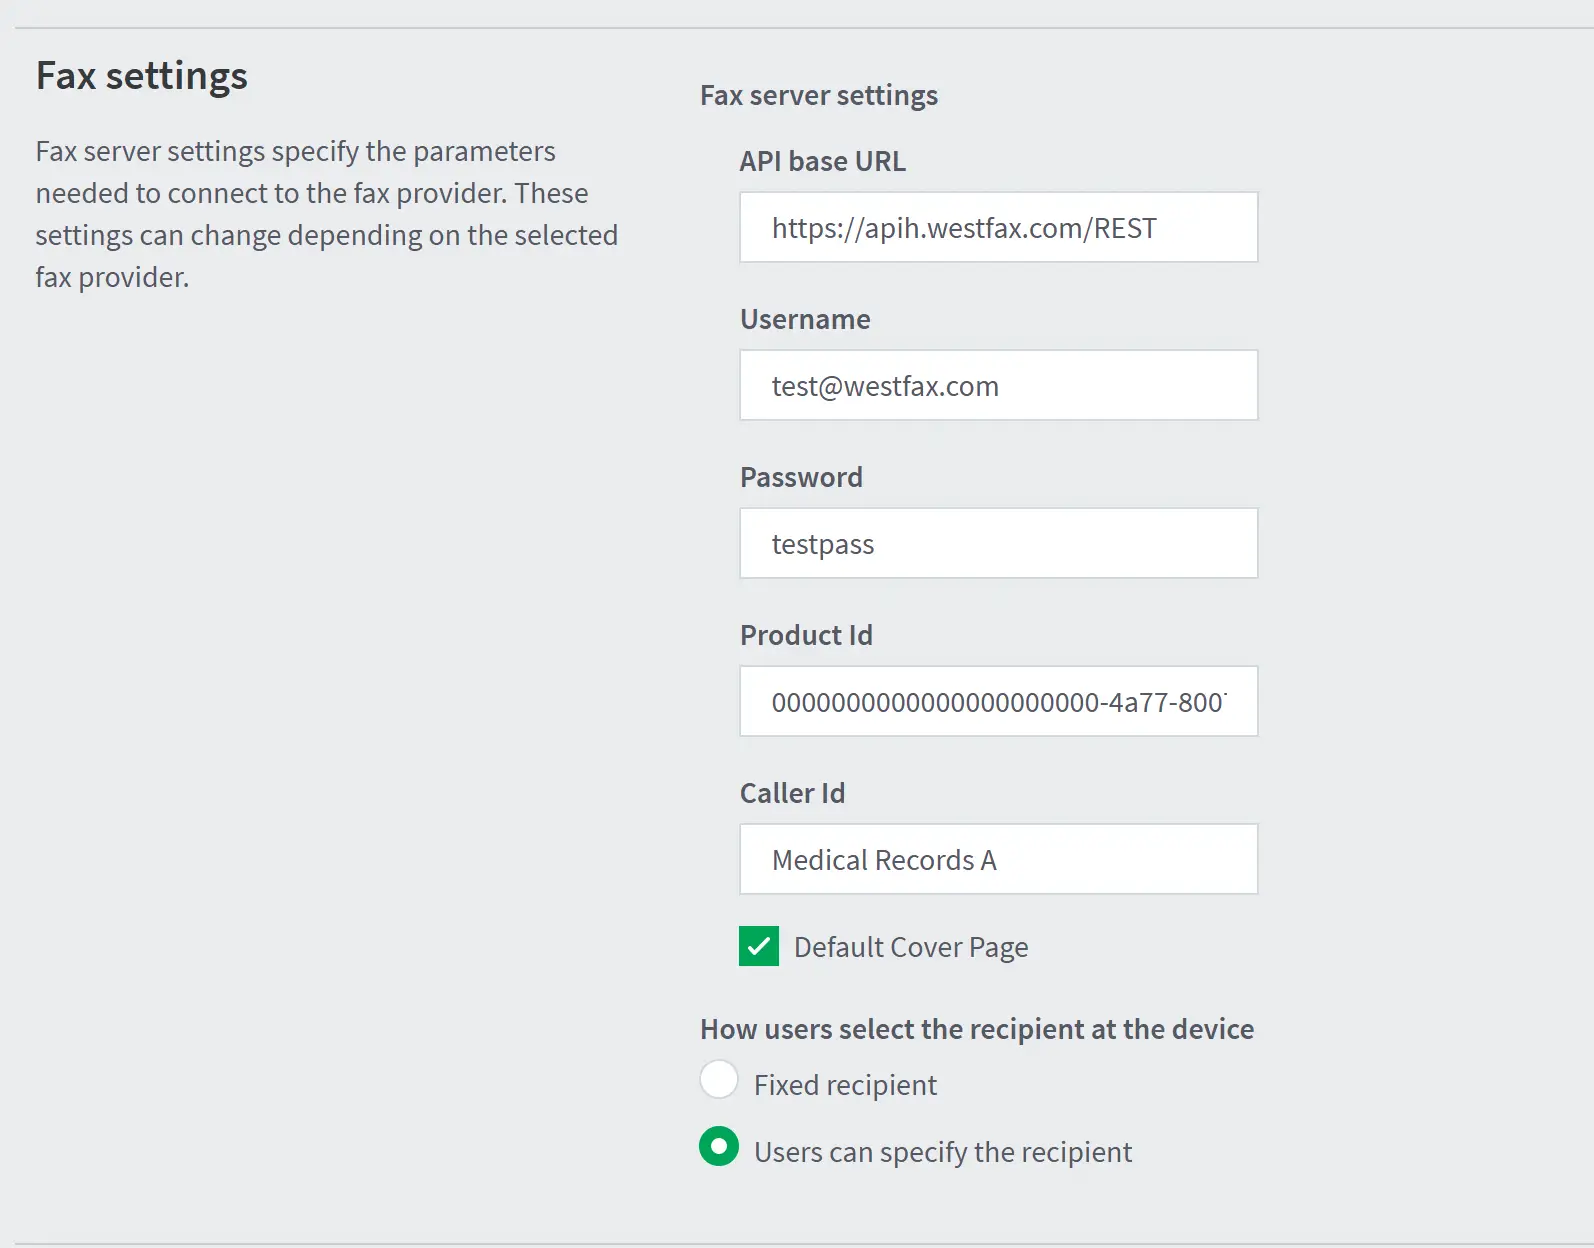
Each field, explained:
API Base URL— Pre-filled by default. Don't change it unless WestFax tells you to.Username— Your WestFax login.Password— Your WestFax password.Product Id— The unique identifier for your fax line; every fax number has its own Product Id. WestFax provides this, or you can retrieve it yourself by following these directions (advanced).Caller Id— Optional. Leave it blank to use your fax number, or override it with a different value.Default Cover Page— Optional. Check this box to attach the cover page nameddefaulton your fax line to every outbound fax.
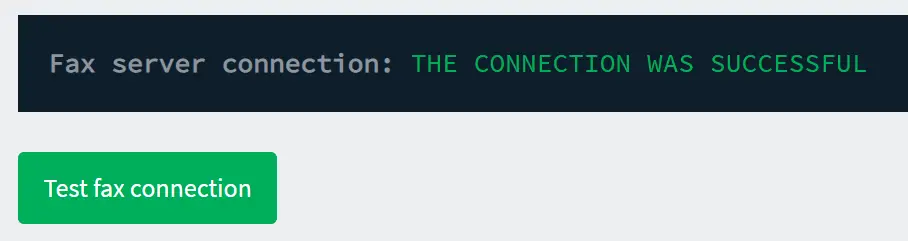
Test the Connection and File Settings
Once the six fields are filled in, click Test Connection to verify the settings. If it doesn't return a success message, double-check your firewall settings, login, password, and Product Id — or contact us and we'll help you sort it out.
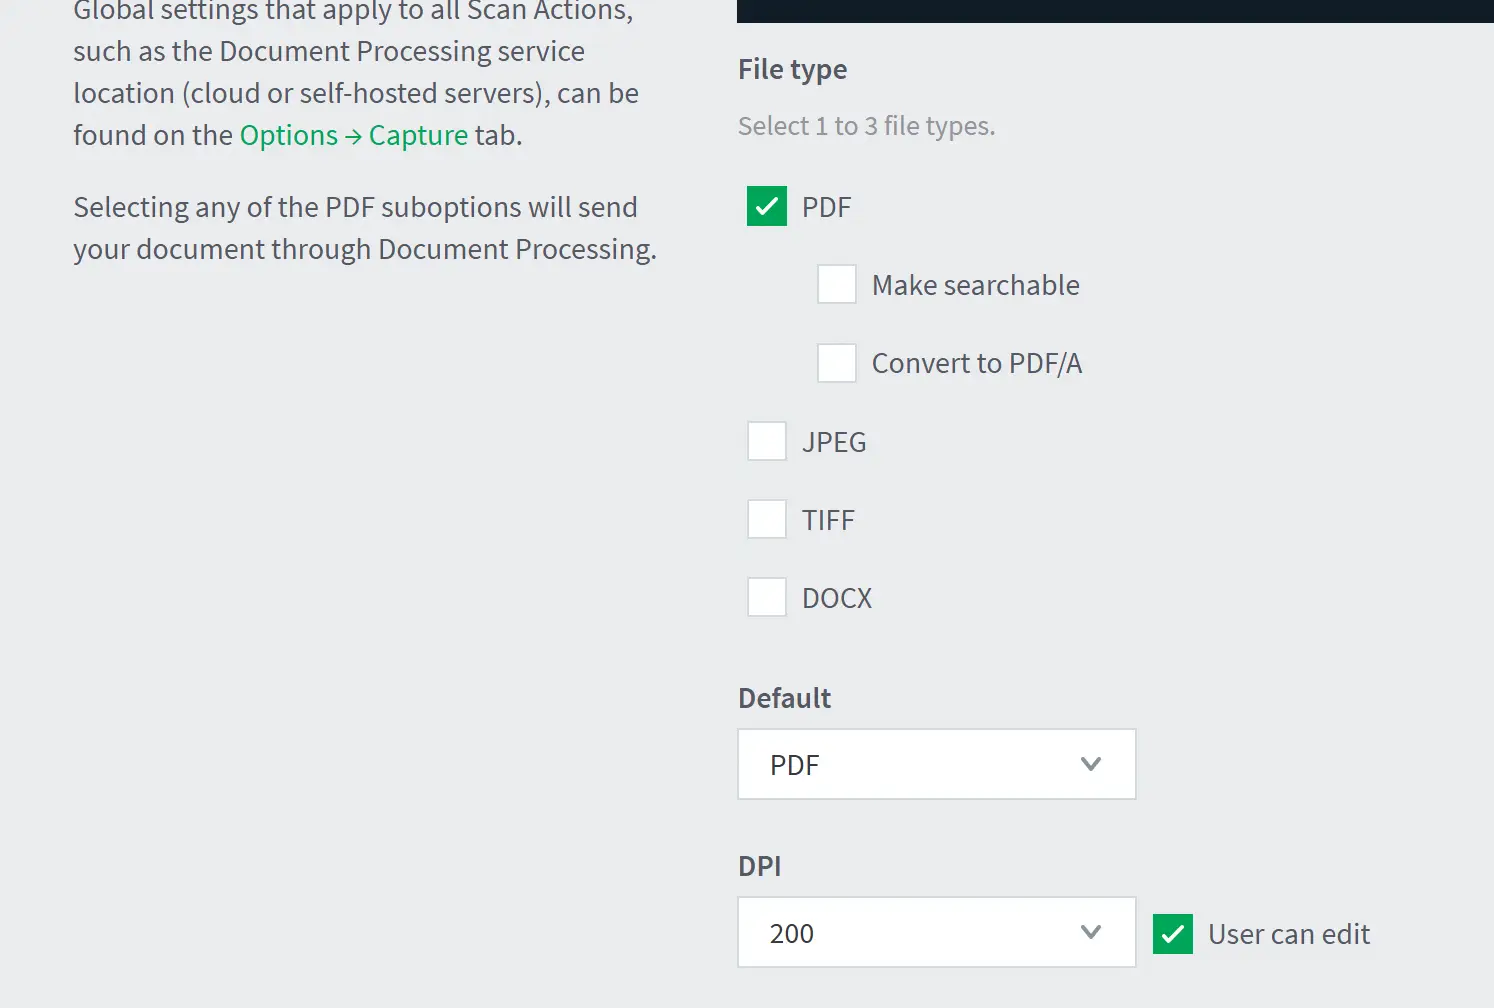
The file creation settings on the next screen are up to you — most people use PDF, and it works fine. Fax doesn't need 300 DPI; 200 DPI is enough for PDF or TIFF output.
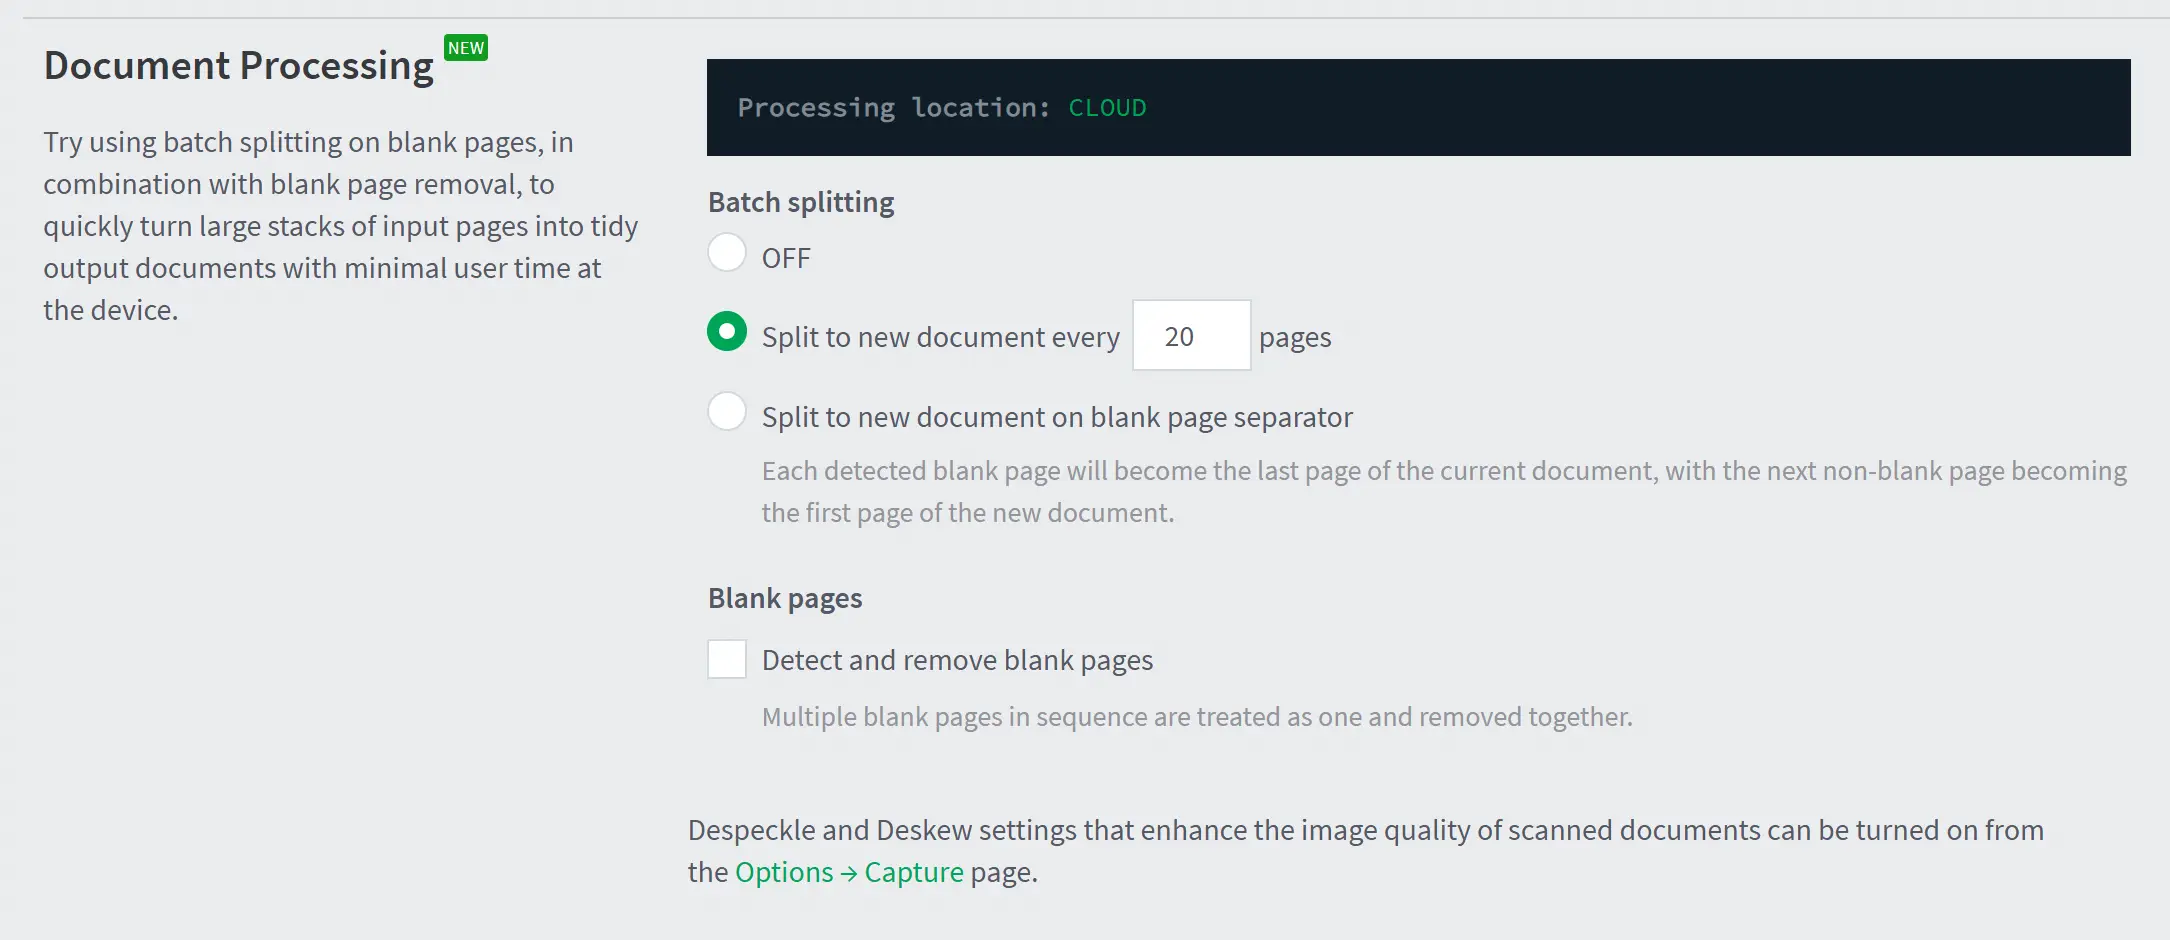
You can also split large PDFs into smaller pieces to keep individual file sizes down. WestFax handles either approach without issue.
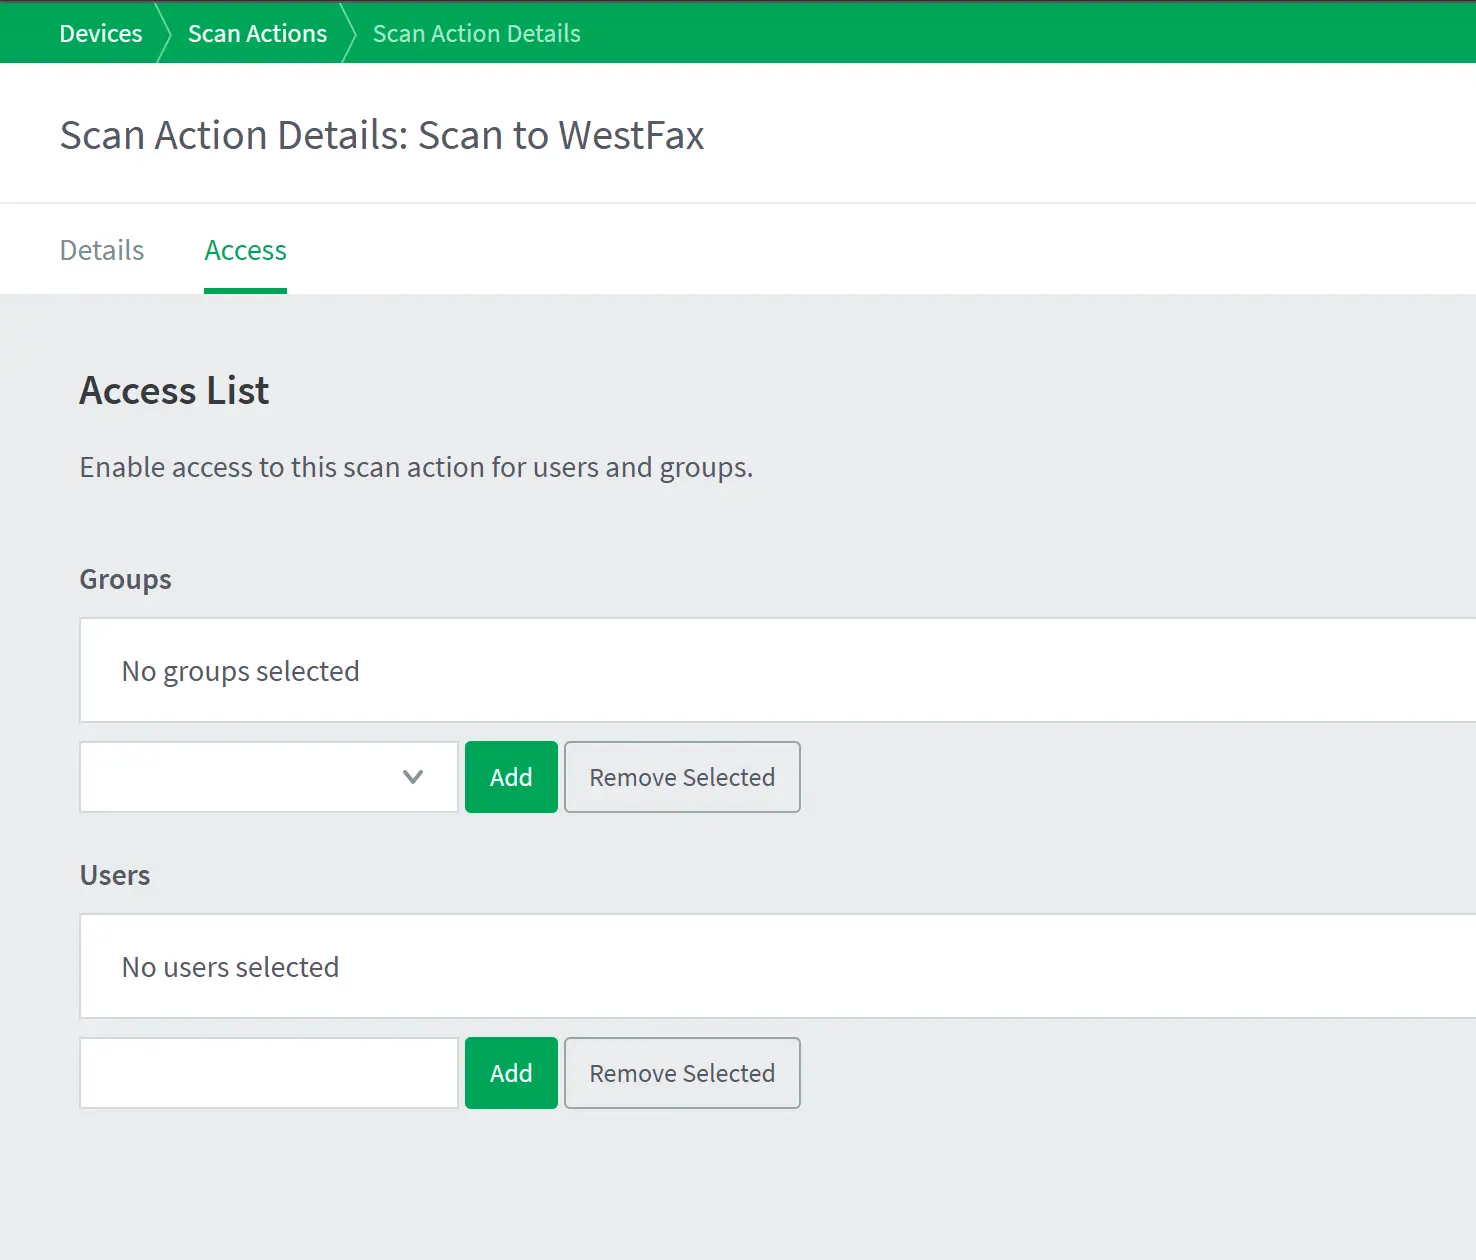
On the final screen, set the access permissions for this Scan Action to control who can use it. Once permissions are set, the software setup is complete.
Questions? Contact us today at 303-299-9329.