How to Setup Internet Faxing on Ricoh MFP Copiers
 Ricoh MFP's are easy to convert to digital cloud fax. Get your Ricoh MFP setup to send fax with no fax line. Start faxing without the hard-line today!
In this guide, we will walk you through setting up your Ricoh MFP to send faxes without an extra app or complicated setup. You just hit the Fax button, type in the number and the scanned document will be sent. There are a few things you need to do before you can start setting up your HP to send faxes.
Pre-requisites:
- MFP Setup pre-requisites
- WestFax account
- Set up an email address as an allowed sender.
MFP Setup pre-requisites
There are a few things you need to have set up on your MFP before you get started. You may be the administrator or you may need an administrator to perform these actions. This article will not address these issues as one can google this information or have your admin set this up.
- MFP must be connected to the internet
- MFP must have an Email server connected (usually used for Email Scanning)
- MFP must support Internet Fax
WestFax Account
Getting an account is easy. Just go to our HIPAA Compliant Fax page and explore our plans. It only takes a few minutes to signup and have an active account
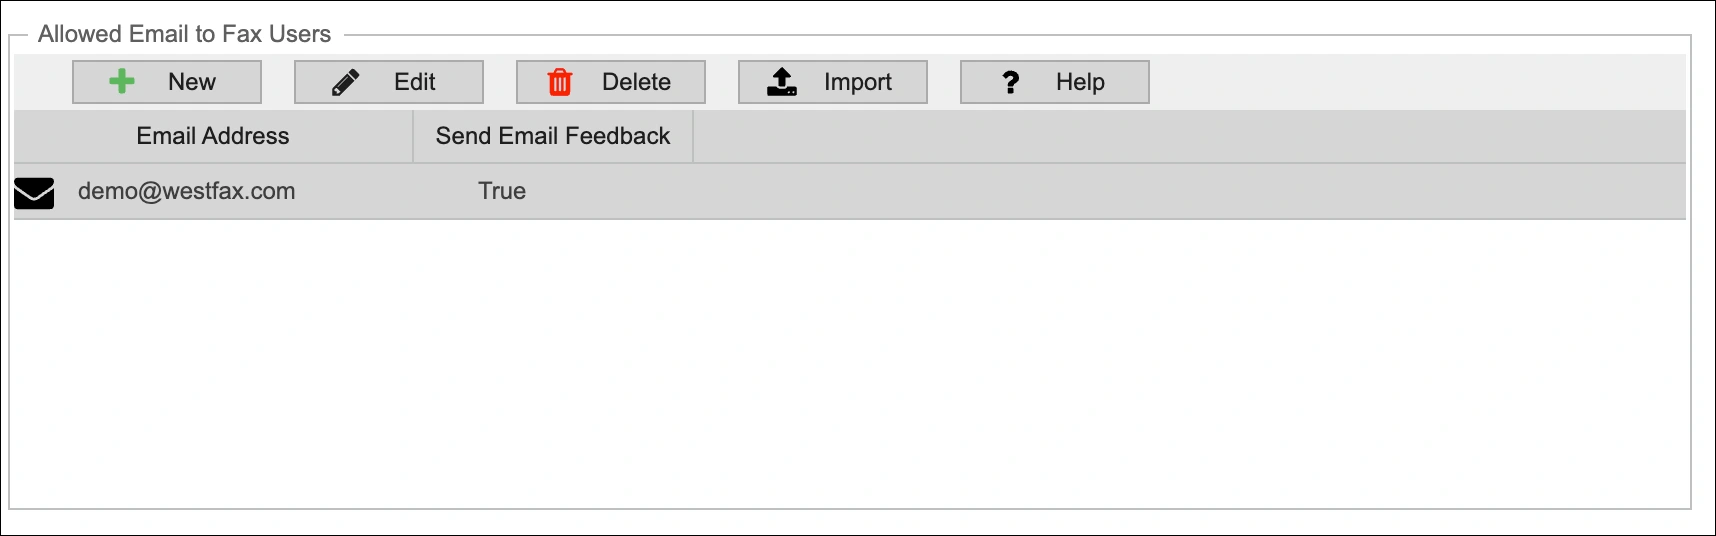
Setup up an email address as an allowed sender
An allowed sender is an email address that is configured to send faxing via email. To add an allowed sender you need to have your account created (previous step) or have an existing account with WestFax.

In the WestFax home portal you go to Settings -> Fax to Email Settings and add the email address of your MFP or the email address that your MFP utilizes to send documents. MFPs can be configured to send from one account or can use the user's account. If you aren't sure ask your administrator.
Now you add the email address here and indicate if you want to return the receipt sent to the sender when the fax is complete.
If you have any questions or need assistance please contact us for more information.
Ricoh Setup pages
We will have screenshots that match most users' setups. Your MFP may look different but the steps are the same.
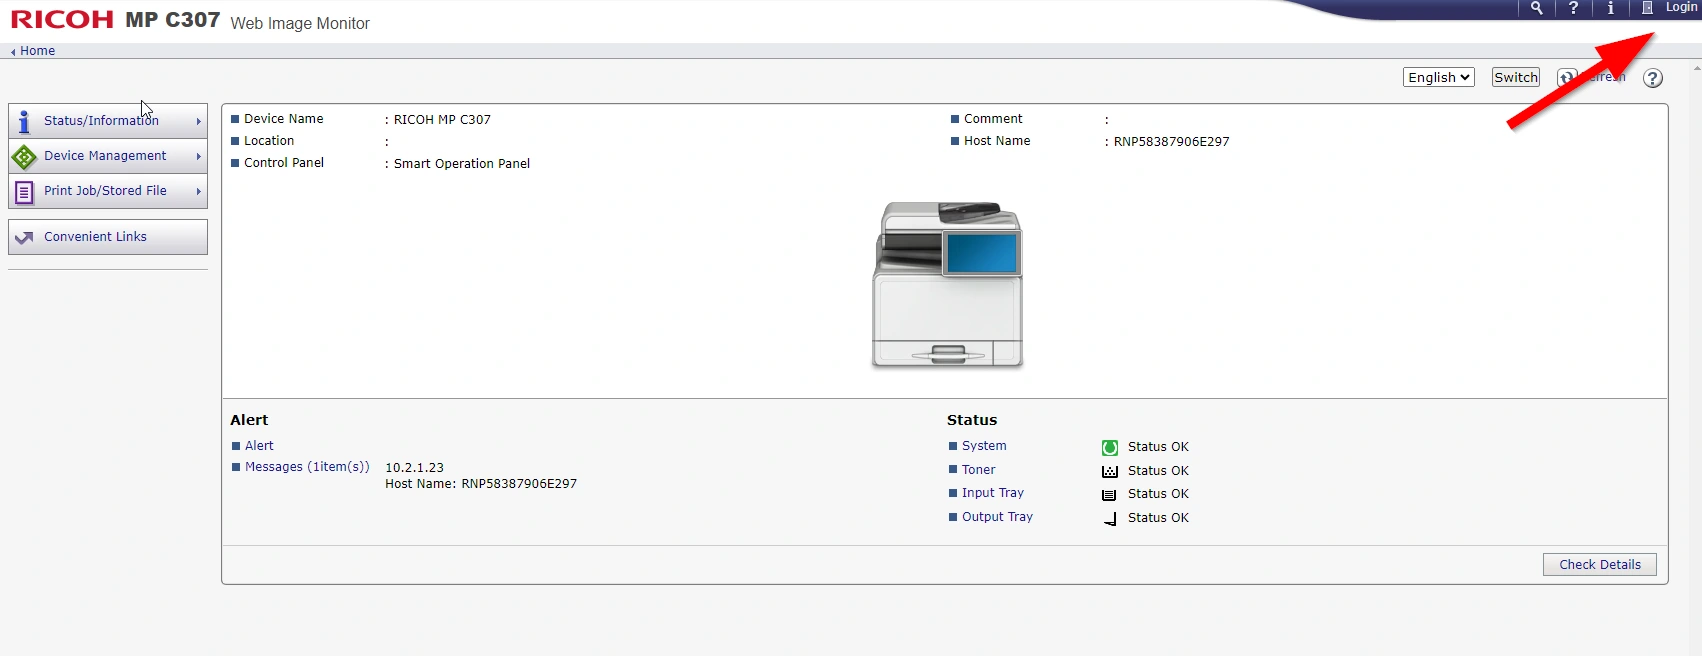
First you will want to login to the web interface on your MFP using the Ricoh Web Image Monitor. Again, if you need assistance, please contact your admin.
Once you are logged in you will see several panels and pages. You will probably start on a page that looks like this.
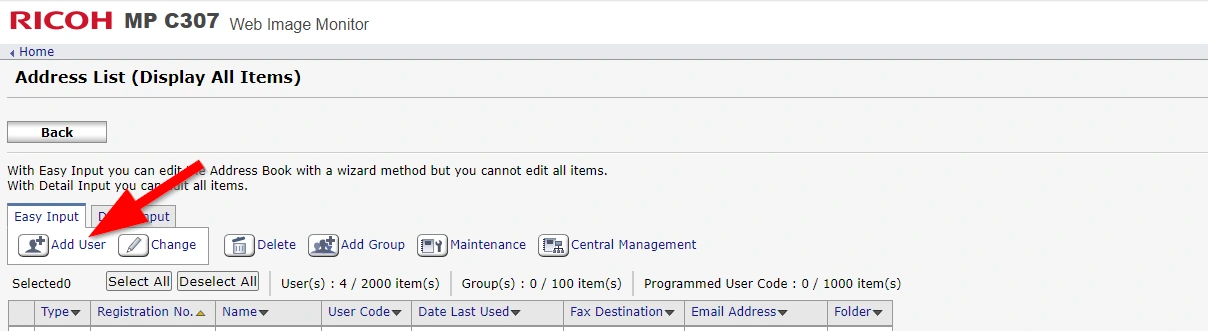
Find and click On the Device Management on the left and select the Address Book option. You will need to make sure you add the user with the email address added in the fax to email setup on the Westfax portal completed in the steps above.
Now you will click on Device Management, then select Configuration.
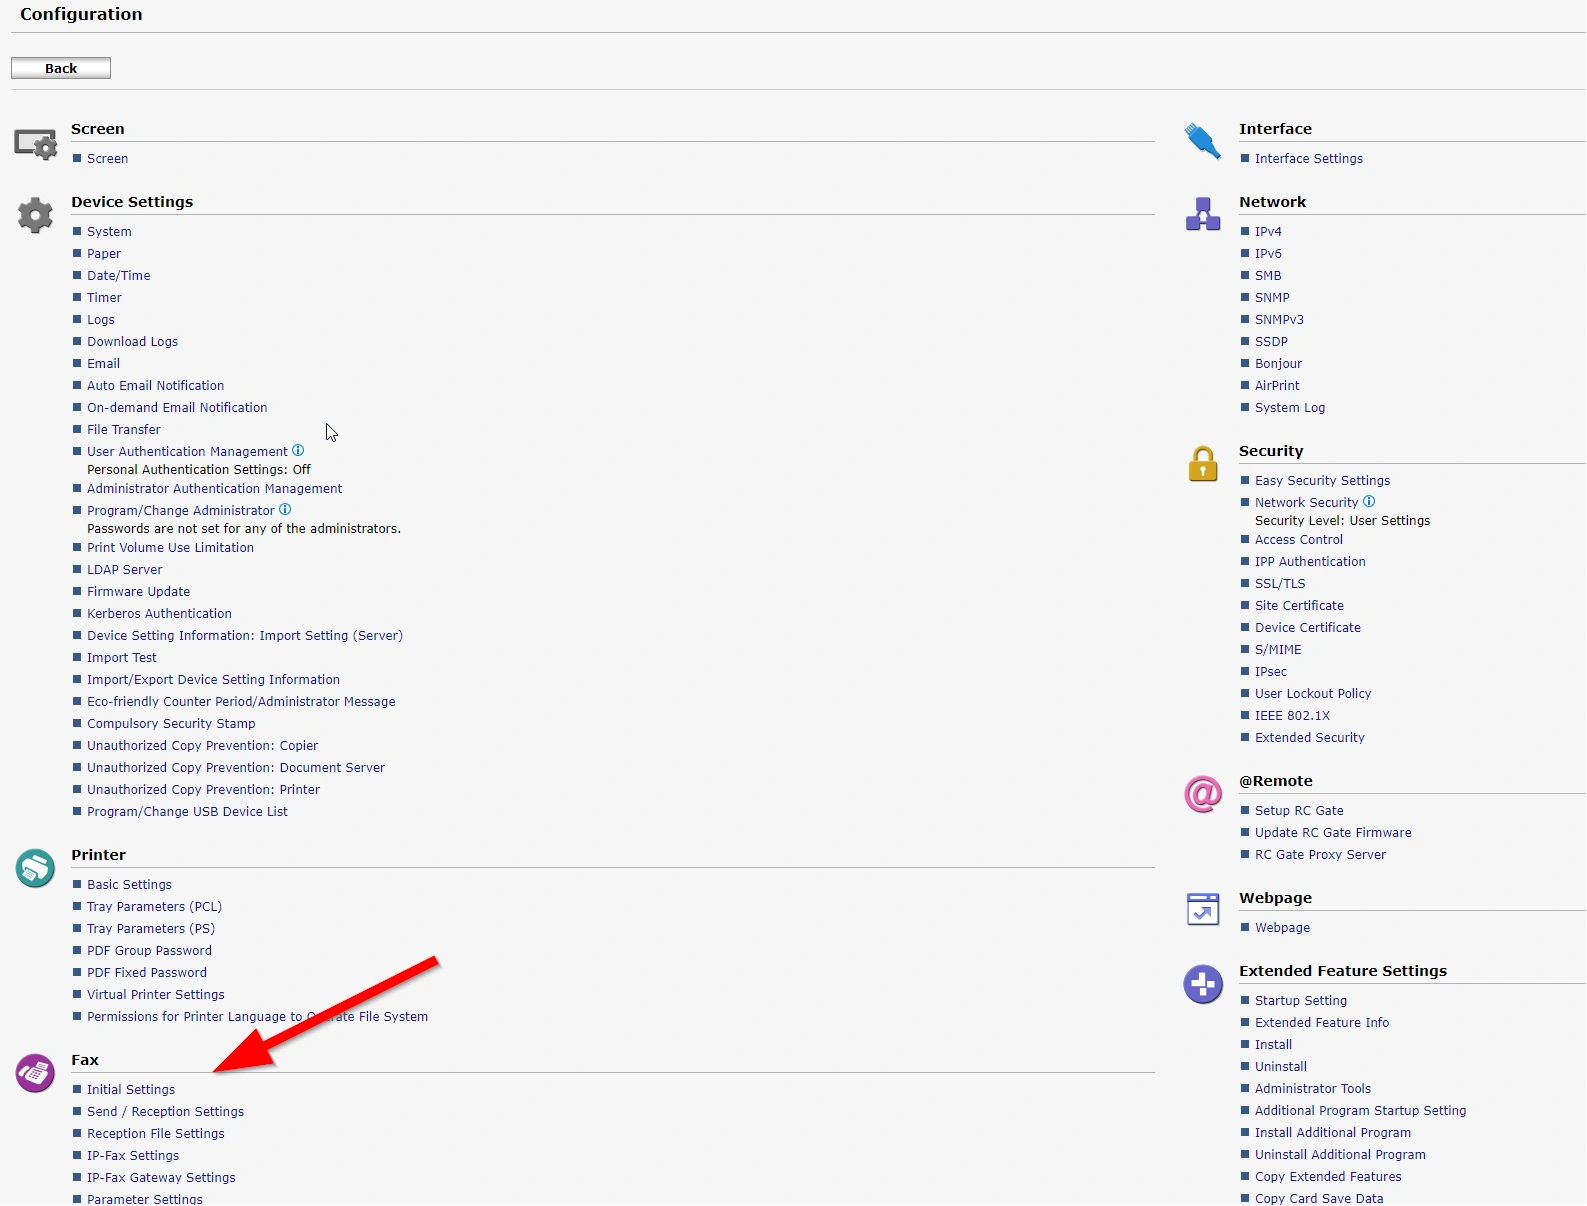
You will now want scroll down and click the Initial Settings option. There are several ways to set this up however we will use the Cloud Fax Settings for this demo.
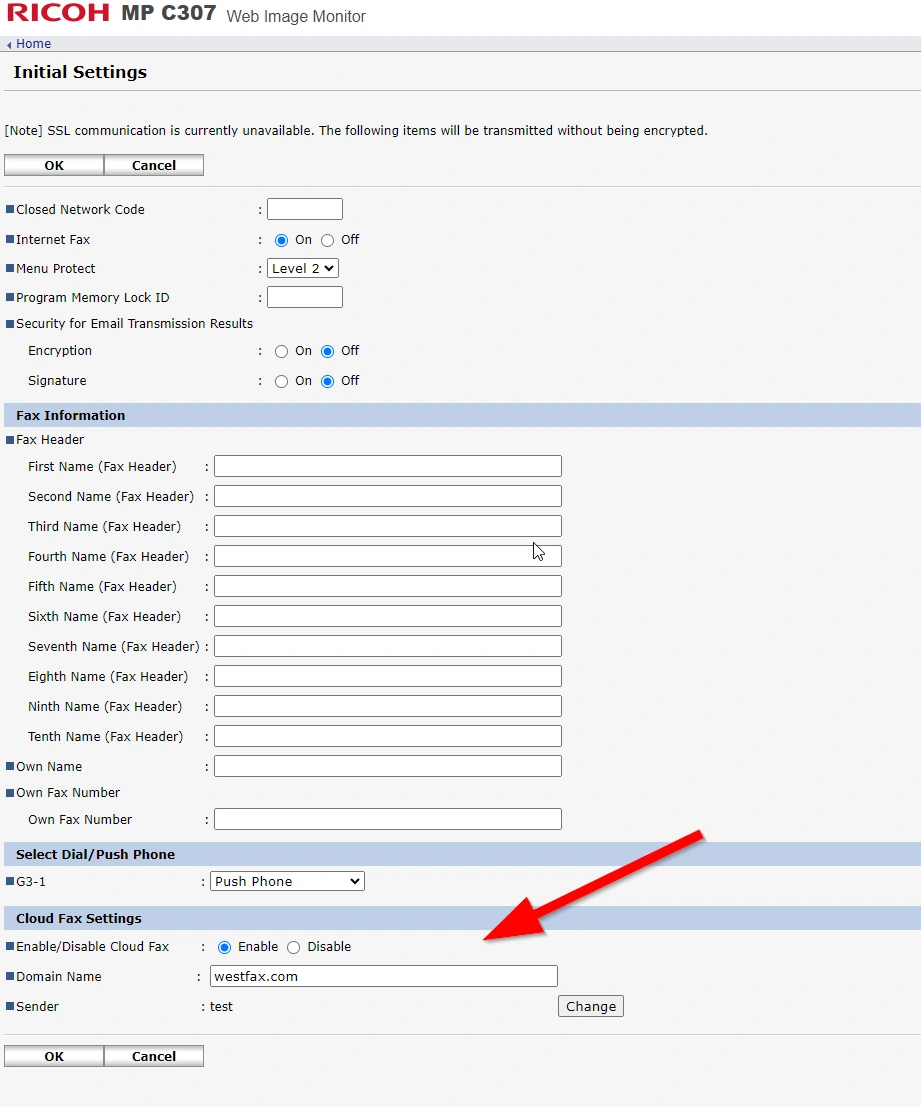
Enable Cloud Fax
Specify whether or not to enable Cloud Fax function.
Default: [Off]
Cloud Fax Settings
Sender Email Address
Specify the e-mail address of the sender from the address book.
Domain Name
Specify the domain name (up to 97 chars) that follows "@" when sending documents via Cloud Fax
When you are done here click OK
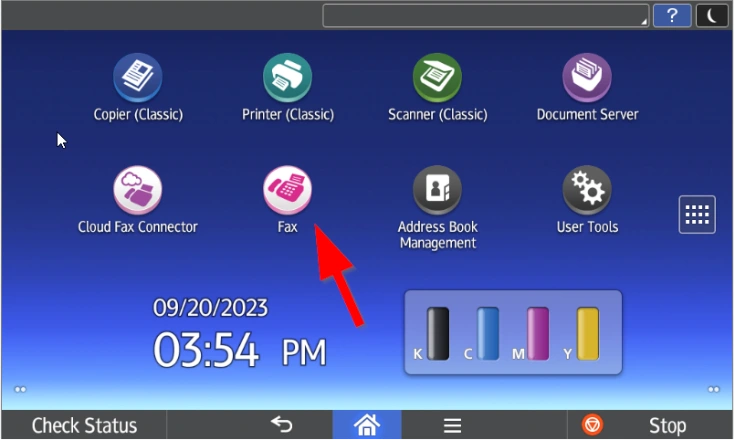
You may have to reboot your Ricoh unit. After it reboots you can click the Fax button on the panel of your MFP, scan your document, enter the fax number, and click send. You are good to go!
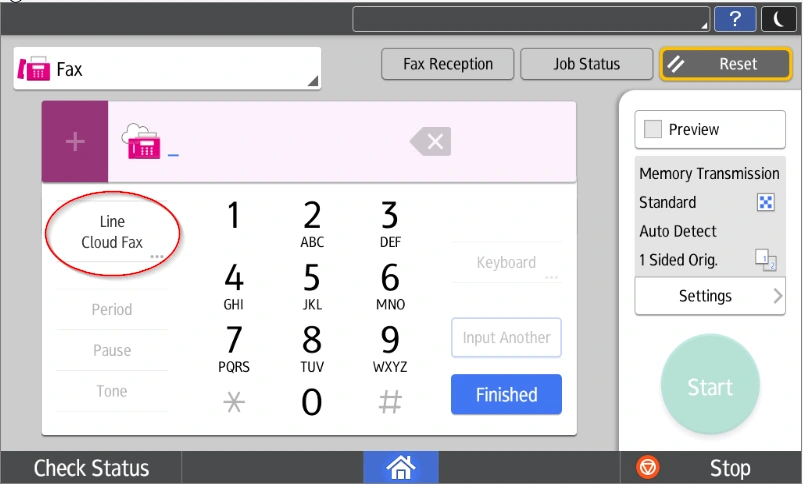
Be sure to select cloud fax in the line option as circled above.
Reach out to us today at 800-473-6208 orsales@westfax.com to learn more.