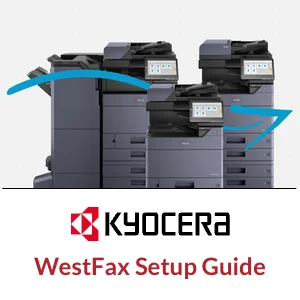
How to Setup Internet Faxing on Kyocera MFP Copiers
Step-by-step guide for configuring WestFax SMTP-based faxing on Kyocera MFPs, including email settings, fax server setup, and control panel configuration.
 If you're needing to configure WestFax on your Kyocera MFP in place of traditional analog lines, your Kyocera devices can support these workflows using SMTP-based output. The screenshots in this guide were captured while configuring a Kyocera in a lab environment—your setup may differ slightly depending on your mail server, port, authentication method, and security requirements.
This step-by-step walkthrough shows how to configure both the general SMTP output settings under the E-mail section and the dedicated Fax Server SMTP settings in Command Center RX. This allows you to either use a single SMTP server for both scan-to-email and faxing or configure a separate SMTP server specifically for fax output.
Critically, we'll also show how to enable the Fax Server button on the control panel. If you're having trouble getting your Kyocera to send faxes over SMTP, this final step is often the missing link. If users continue to press the default Fax button, the device will attempt to use the analog fax card. The Fax Server icon activates email-based (SMTP) delivery.
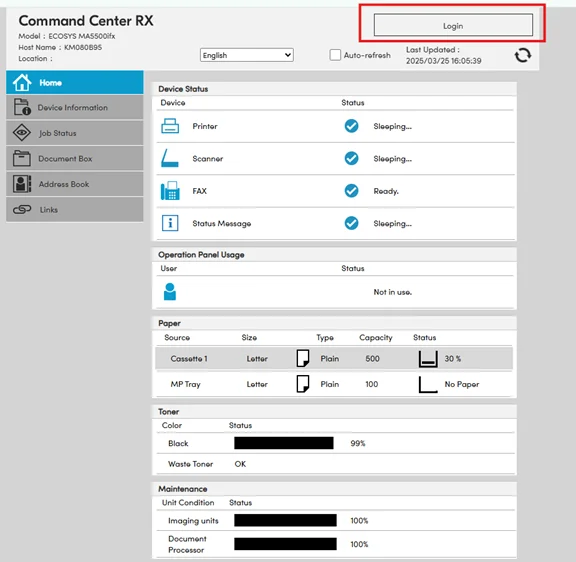
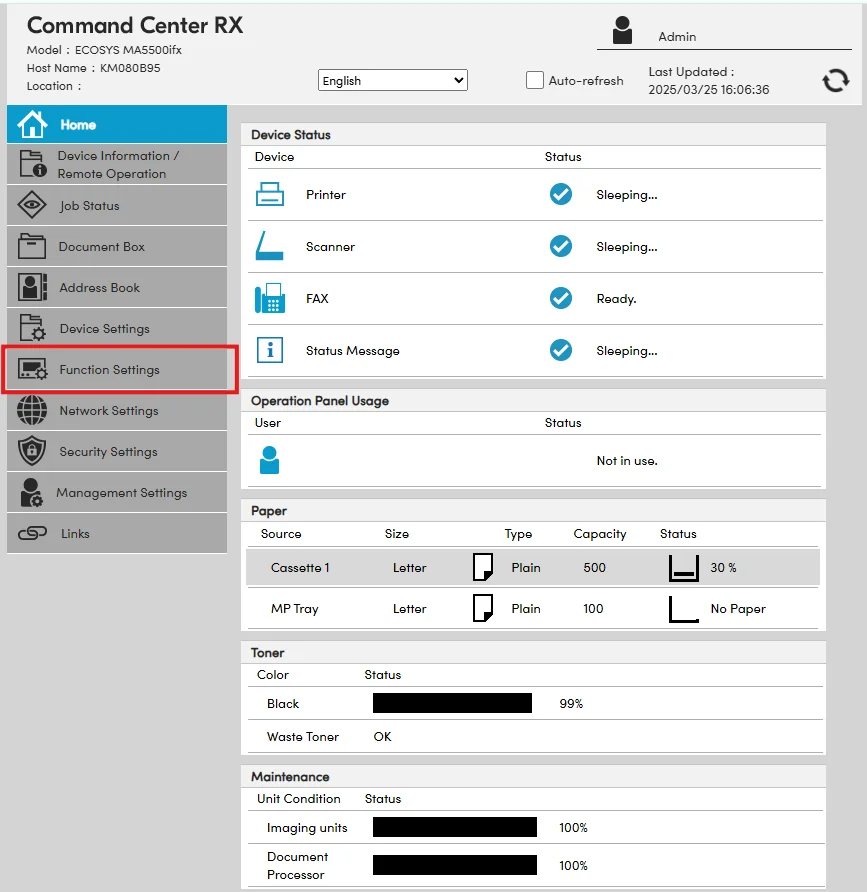
Step 1: Log In to Command Center RX
Open a browser and enter the Kyocera MFP's IP address. Click Login in the top-right corner and sign in as an administrator.
Click on the image to enlarge
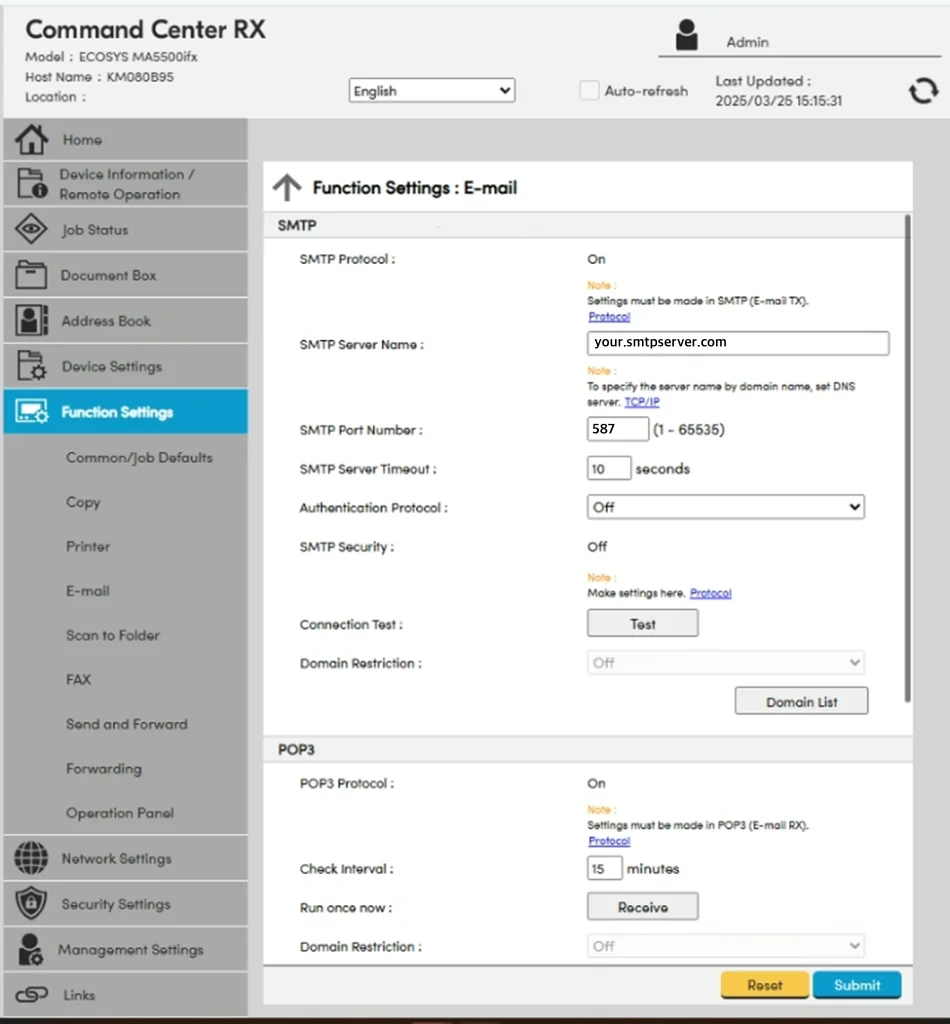
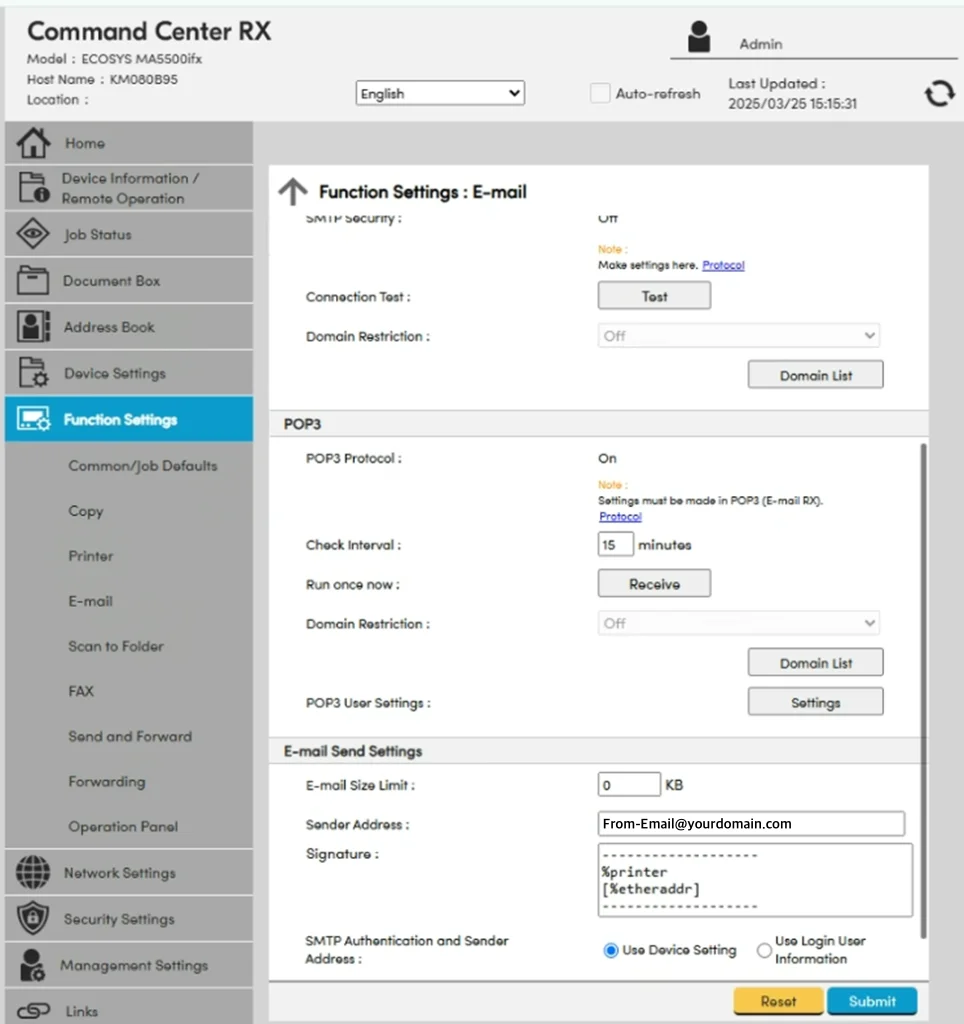
Step 2: Configure SMTP Output Settings
Navigate to Function Settings > E-mail and ensure SMTP Protocol is set to On.
Enter the following SMTP details:
- Sender Address: Enter a valid email address (e.g., kyocera@yourdomain.com) to ensure successful delivery
- SMTP Server Name: <your.smtpserver.com>
- Port: 25 or 587 (depending on your provider's recommendation)
- Authentication: Leave Off if using a trusted relay, otherwise configure a username and password
- SMTP Security: Off (TLS is handled in the Fax Server settings)
Click on an image to enlarge
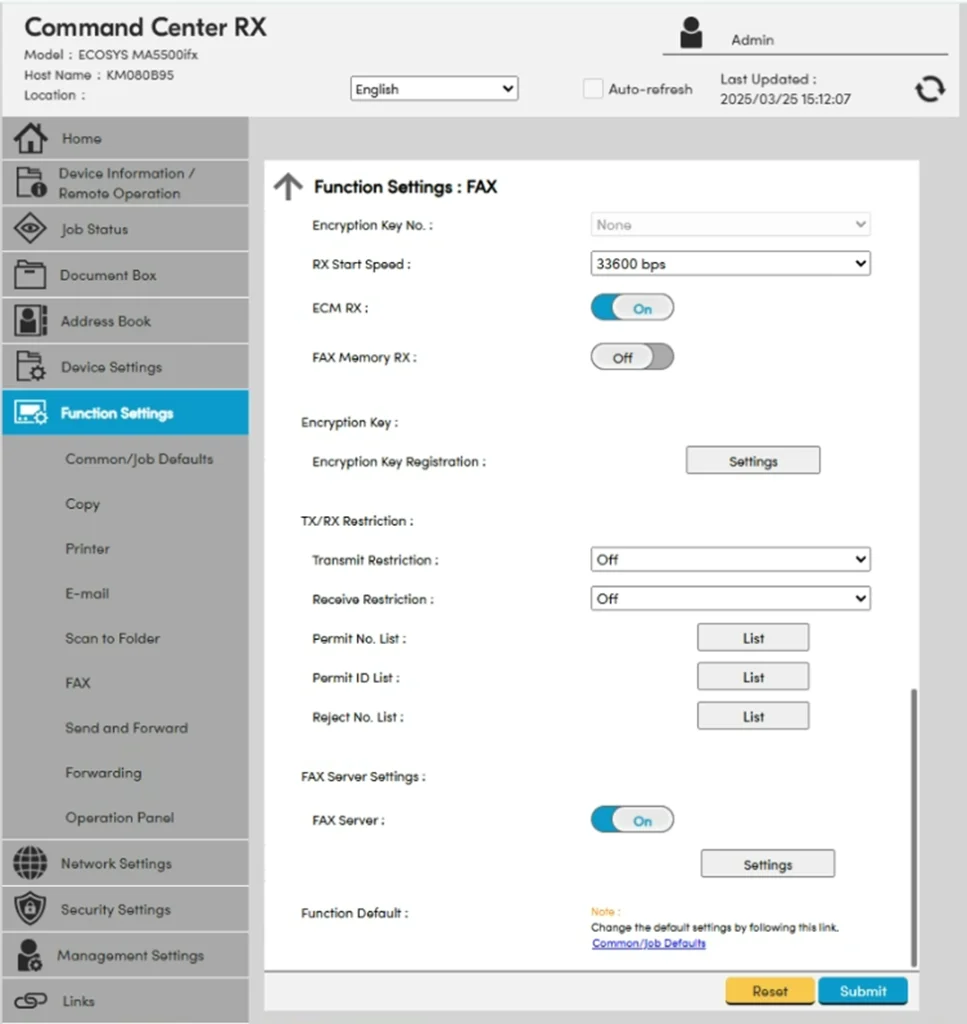
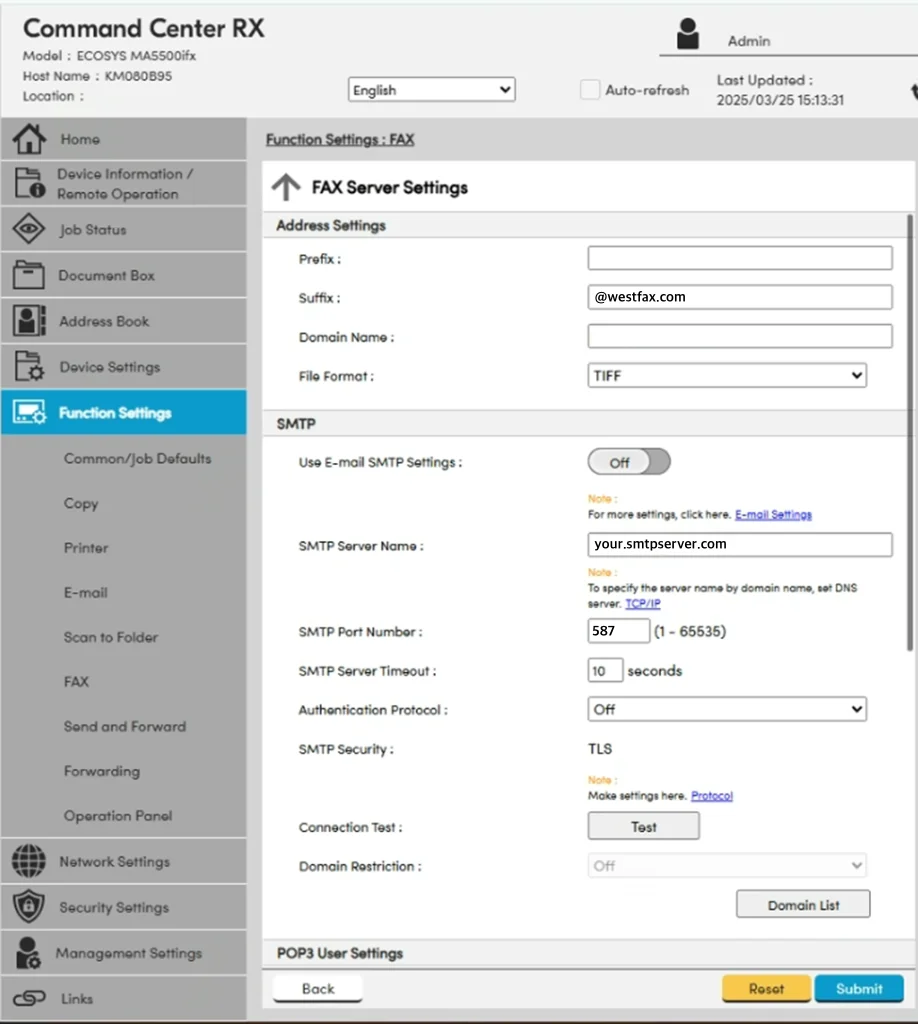
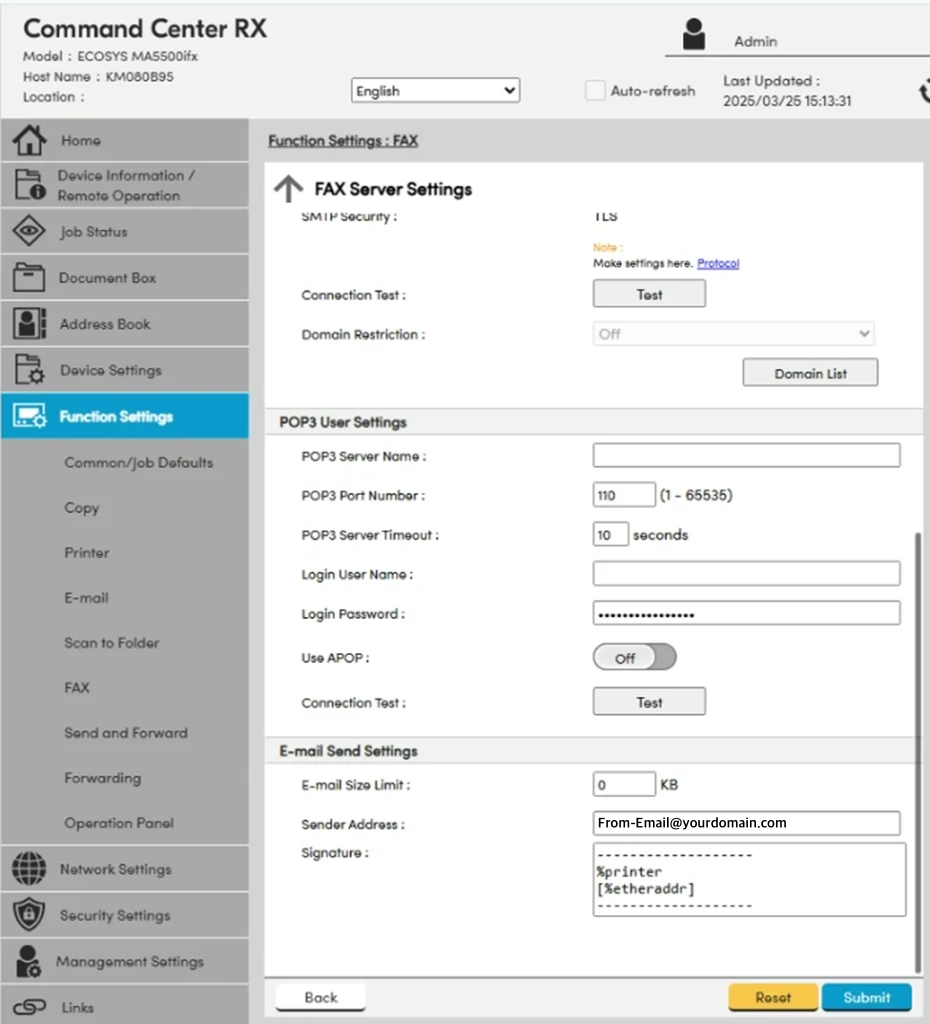
Step 3: Configure Fax Server SMTP Settings
Go to Function Settings > FAX, then locate the FAX Server Settings section.
You'll see a toggle labeled Use Email SMTP Settings. When this is set to On, the fax server reuses the SMTP configuration from the email settings. To route fax output through a different SMTP server (such as a dedicated fax relay), set this to Off. This allows you to enter unique SMTP settings specifically for faxing.
Under Address Settings, specify the domain used for outbound faxing (e.g., @westfax.com).
- Enable SMTP Security: TLS is recommended
- SMTP Server Name, Port, and Timeout: Enter values based on your relay service
- Sender Address: Use a valid email address (e.g., kyocera@yourdomain.com)
Click on an image to enlarge
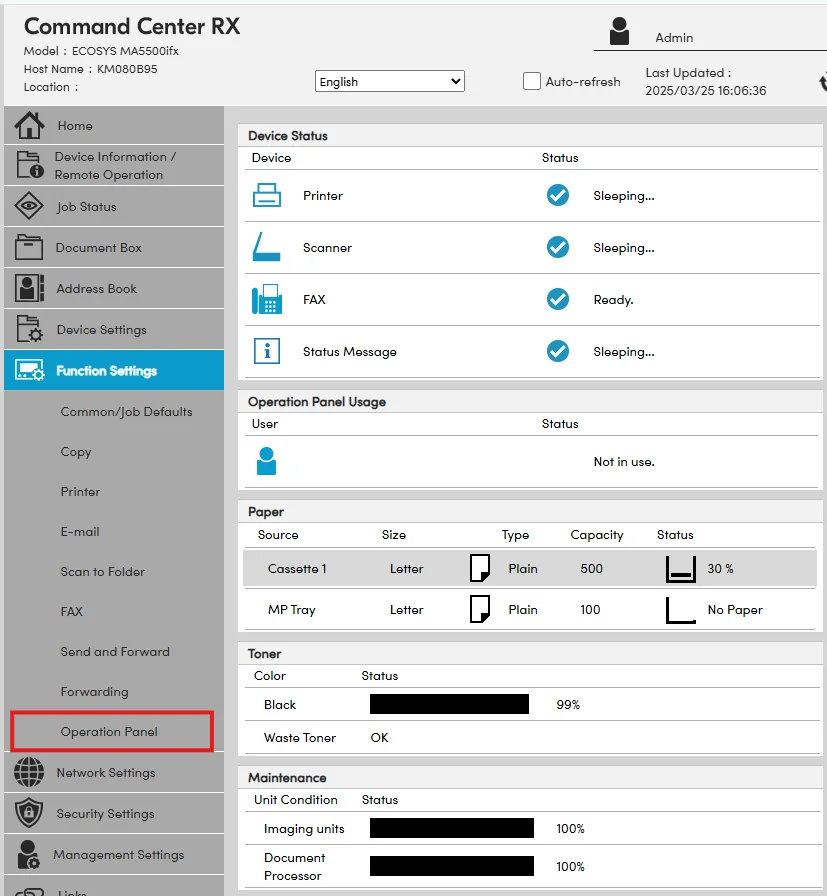
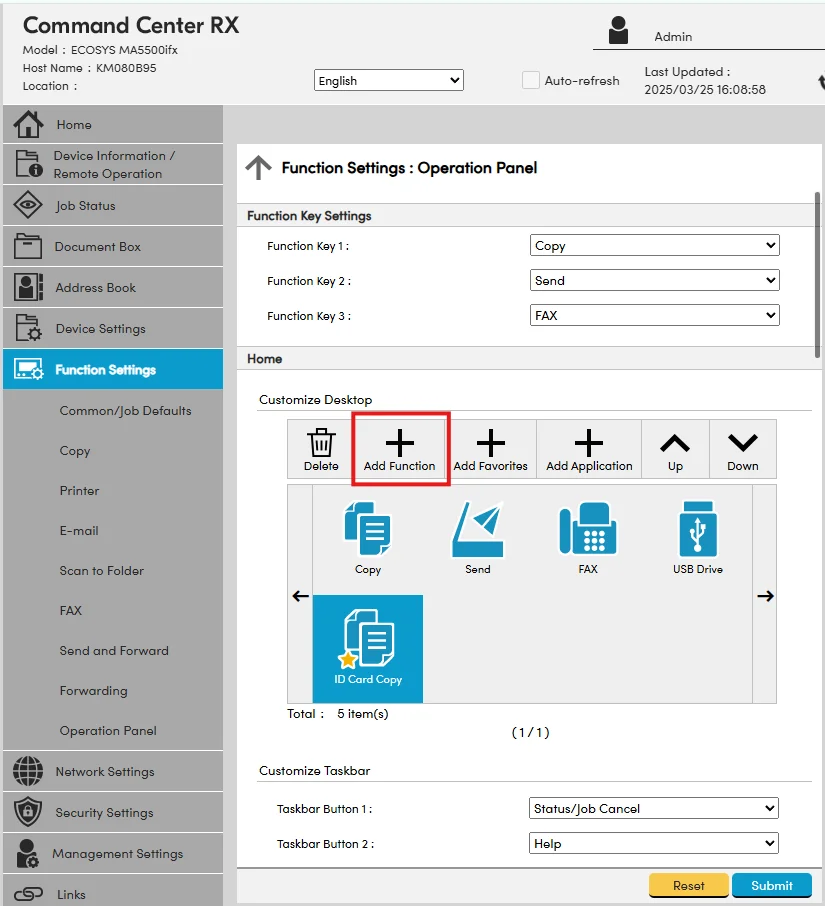
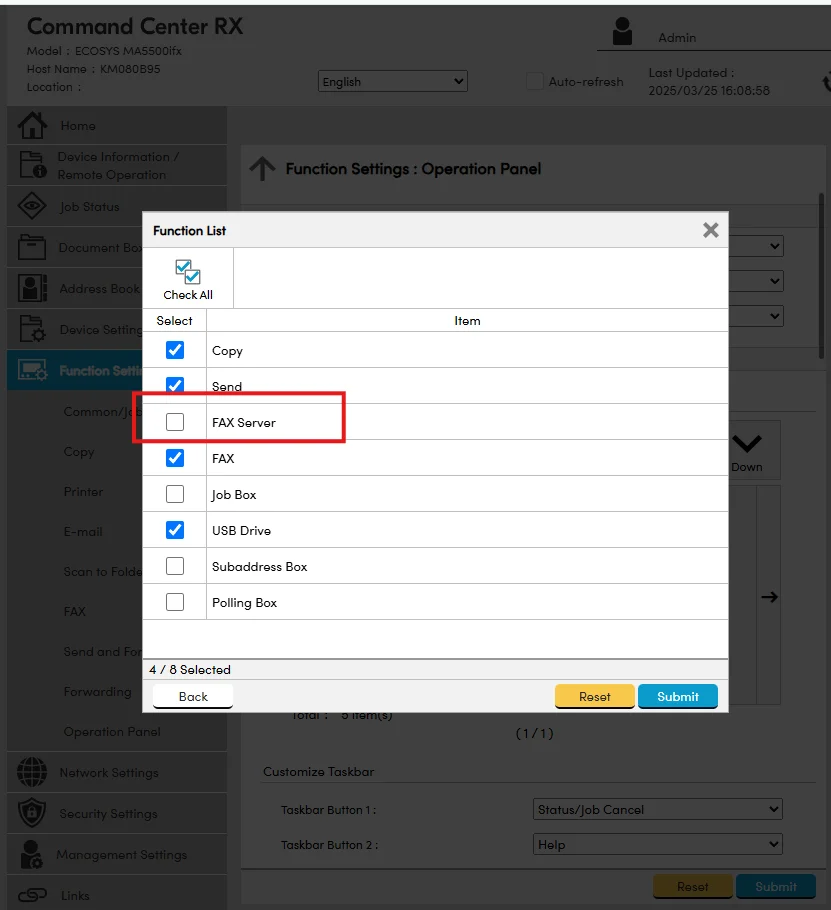
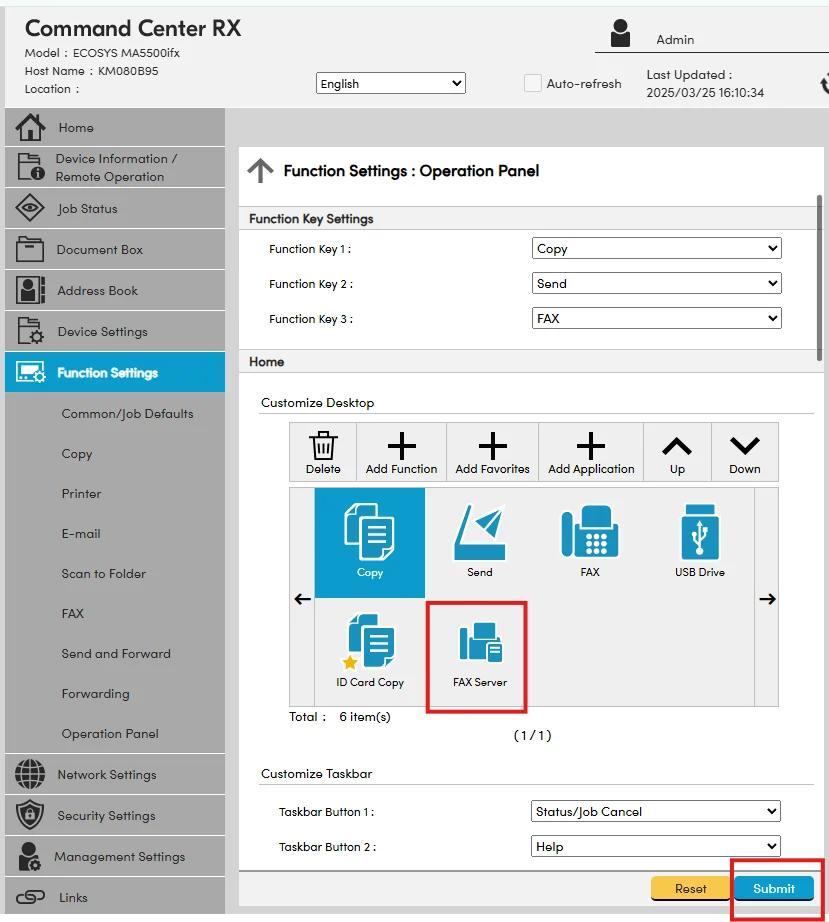
Step 4: Enable Fax Server in the Panel UI
Users won't see the Fax Server button unless it's added to the operation panel.
- Go to Function Settings > Operation Panel
- Click Add Function under Customize Desktop
- Check the box for FAX Server
- Click Submit
Click on an image to enlarge

Step 5: Test the Connection
Return to the E-mail and FAX Server settings screens and use the Test button to validate the connection to your SMTP relay. If the test fails, double-check DNS settings, port numbers, and authentication credentials.
Step 6: Train End Users
Once the FAX Server button is visible on the control panel, users can:
- Select the FAX Server function
- Enter the destination fax number in email format, such as 2223334444@westfax.com
- Attach their scanned document and send securely over SMTP
Final Tips
- Restart the device after applying key SMTP protocol changes
- Use valid email relay credentials or configure your SMTP relay to allow unauthenticated sending from the device IP
- Disable unused protocols (e.g., POP3, FTP) to improve security
By following these steps, you'll enable modern fax workflows on existing Kyocera hardware—helping your organization retire analog lines, reduce costs, and streamline communications securely. If you need additional assistance, feel free to reach out to our support team.